This is the last blog which deals with the GCP deployment, here our main area of
topic is the mina “a blazing fast deployment tool”.
Which is executed as a Rake.
Need to install and setup is pretty, no worries.Advantage is that we check-in the code to the github.
Only the place is the config/deploy.rb.Also we can implement DRY principle to the deployment script.
Which means;we can use the same script to deploy the app to staging, QA and even Production.
We are dividing the deployment to below section to easily understand and deployment.
setup and install mina gem
mina Rake
script to deploy
running the Rake.
setup nginx and unicorn
1.Setup and install mina gem
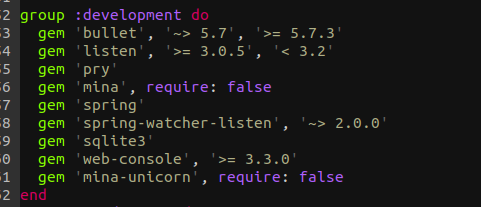
Add the below gem to the development group.
1
gem 'mina', '~> 1.2', '>= 1.2.3'
Now what we need to add is the mina-unicorn gem, this will used to deploy unicorn with mina.
1
gem 'mina-unicorn', '~> 2.0'
then do
1
bundle install
2.mina Rake
mina works like a rake task.There is a another command
1
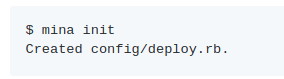
mina init
it will create the configuration file in the config/deploy.rb
Hooray, A major part is done, now we need to add the tasks we are going to use
in the deploy.rb
You can use your own tasks, based on the taste, but i would like to follow the
old practices like the setup and deploy
setup
In this rake, we are going to deals with the basic details like creating the
folders, creating the temp folders, etc.
deploy
This rake mainly deals with clone the app and kill the pid, bundle install, migrate the app, migrate, precompile the assets.
3.mina script
deploy.rb is the heart of the mina tool.
We can configure that based on our requirement.
I will give you basic explanation about the each of the commands here and updated the basic skeleton of the deploy.rb and also for verification, will updated with my own deploy.rb which is used in my blog_app.
skeleton of the deploy.rb
copy of my original deploy.rb file
Now our scripts are done.Copy this file into your app/config/deploy.rb file and
run the commands below,
4.Running the Rake
Before running the rake, ensure that you are added the mina gem and mina-unicorn
and bundle installed.
first run the command
1
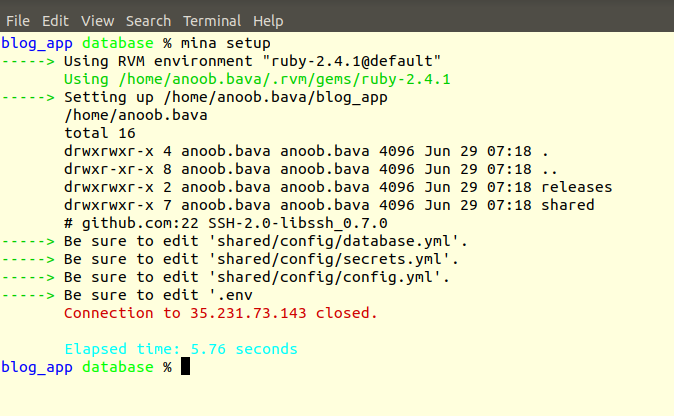
mina setup
Now the setup execution is completion is success, there is nothing to worry in
this, now we are moving to the deploy command.
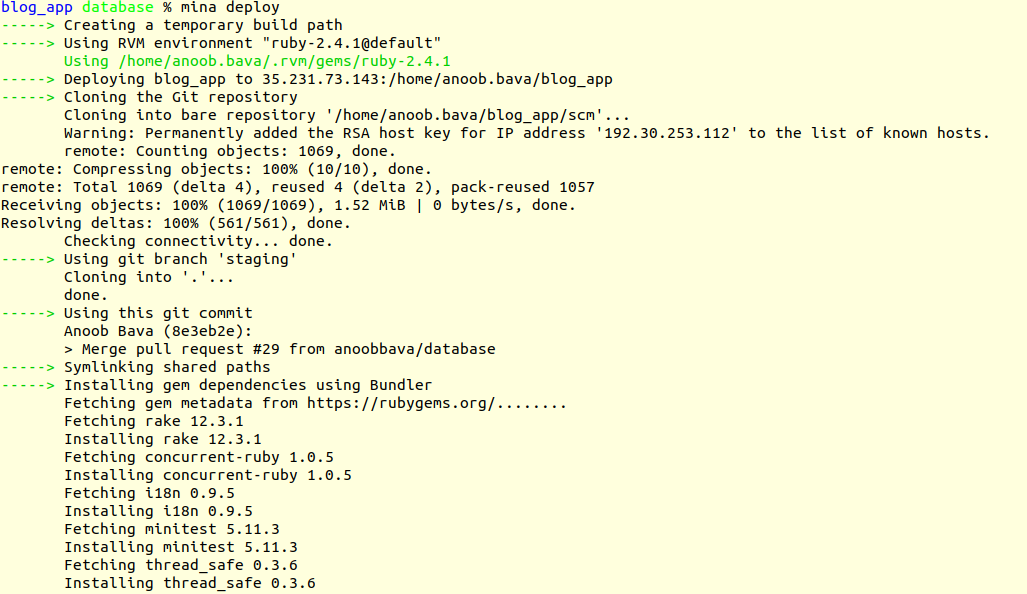
1
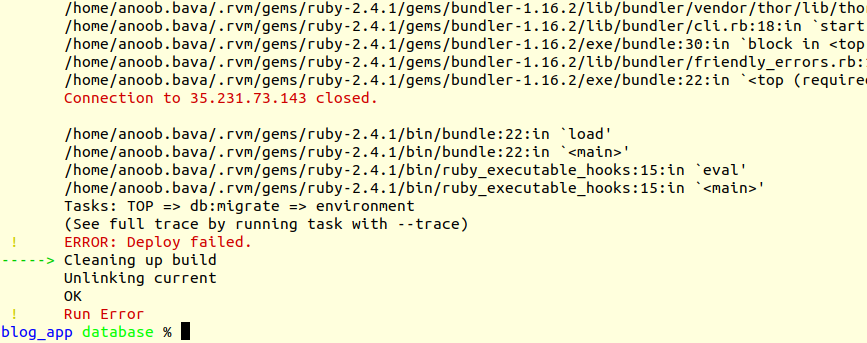
mina deploy
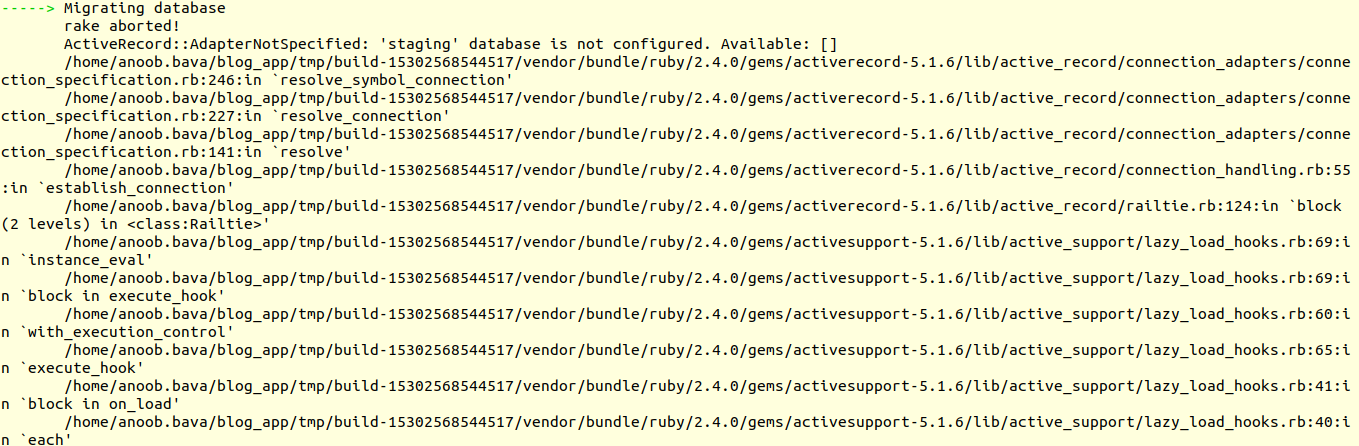
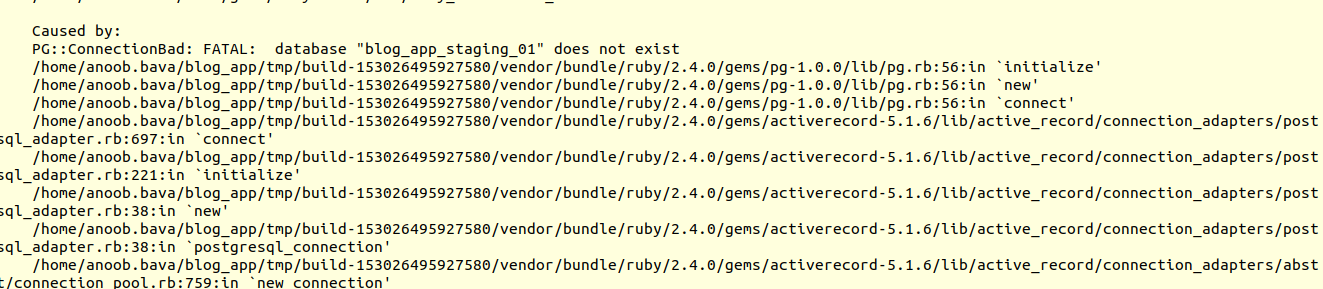
ah!!, We got the first error.
That issue is because we don’t specify the database
and the connector, then user name and password in the path.In order to do that,
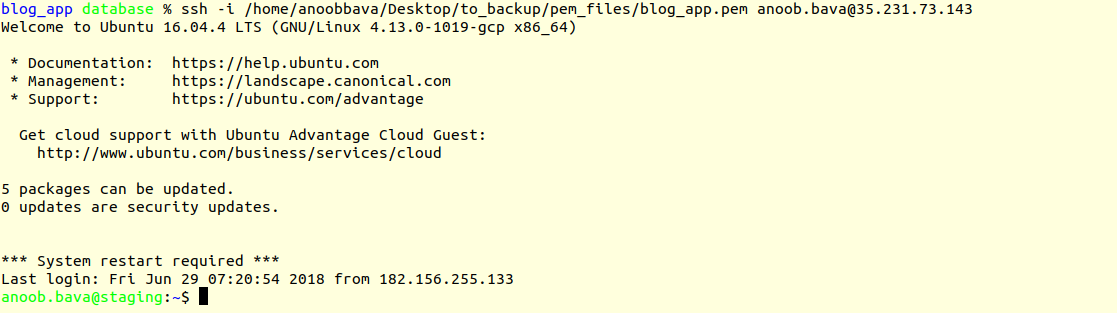
go to our server terminal
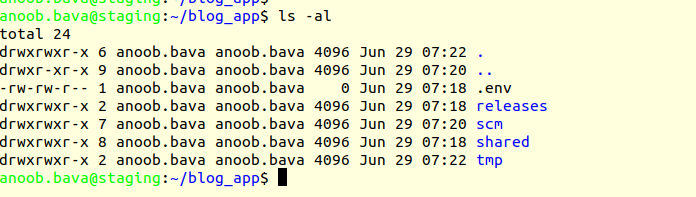
Now we go to the app path , here it is blog_app/
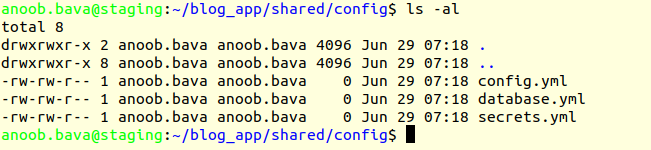
Now go to the blog_app/ folder go to the shared/config/ there is a file called
the database.yml and add the connection details there.
That error comes because there is no database configured. It is possible to create the database from the mina tool;but we will
do via console and we will explain that in another blog.
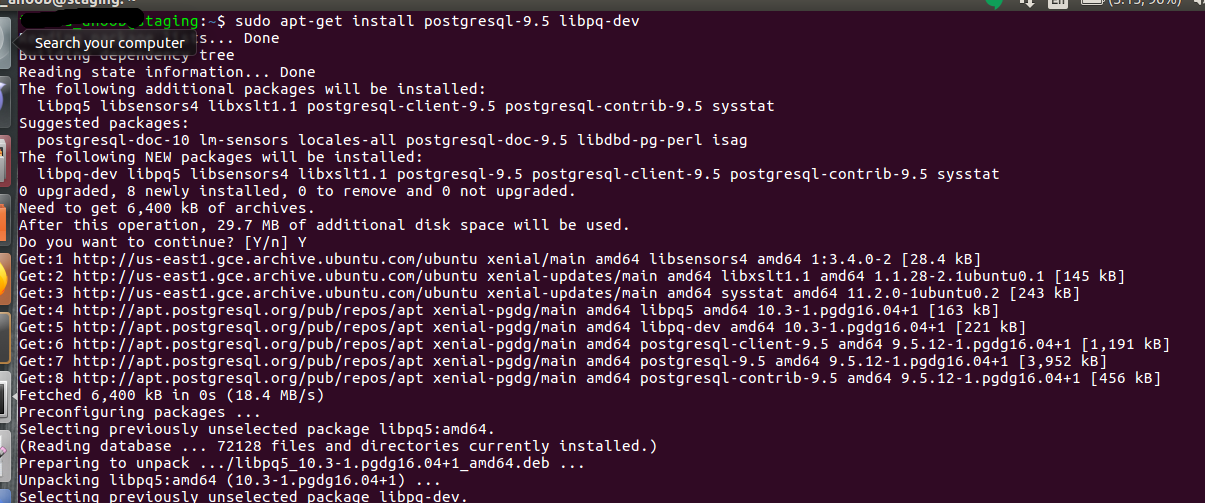
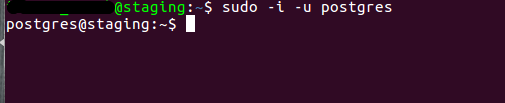
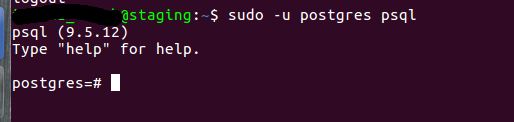
Now, we will create a database by logging to the server and using the below
command
1
sudo -i -u postgres
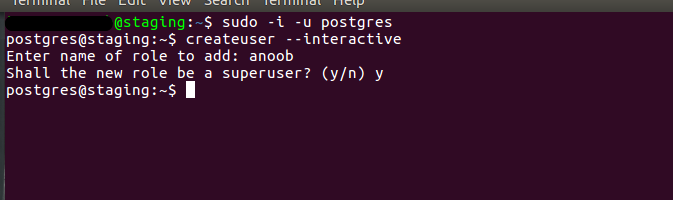
then using the below command, generate the database
1
createdb databasename
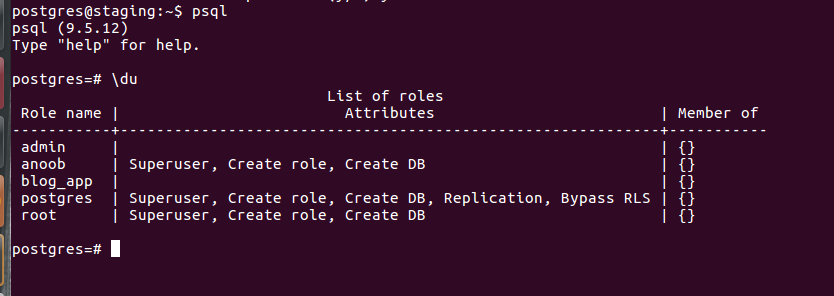
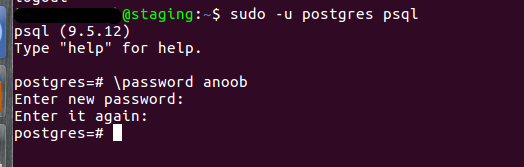
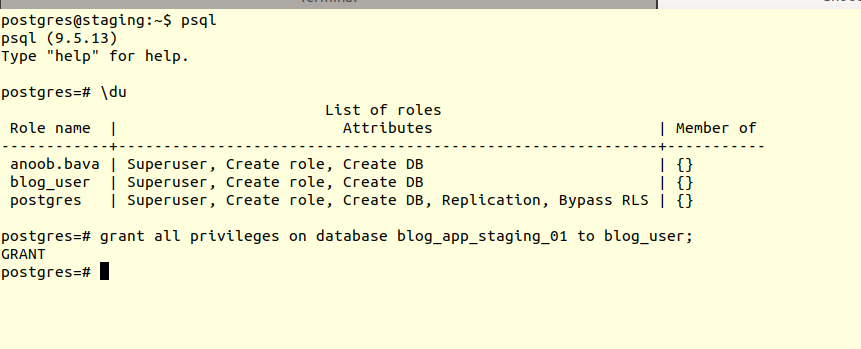
Next is grant access to the user to the new database.
1
grant all privileges on database databasename to username;
Please check the above image before executing the above command.
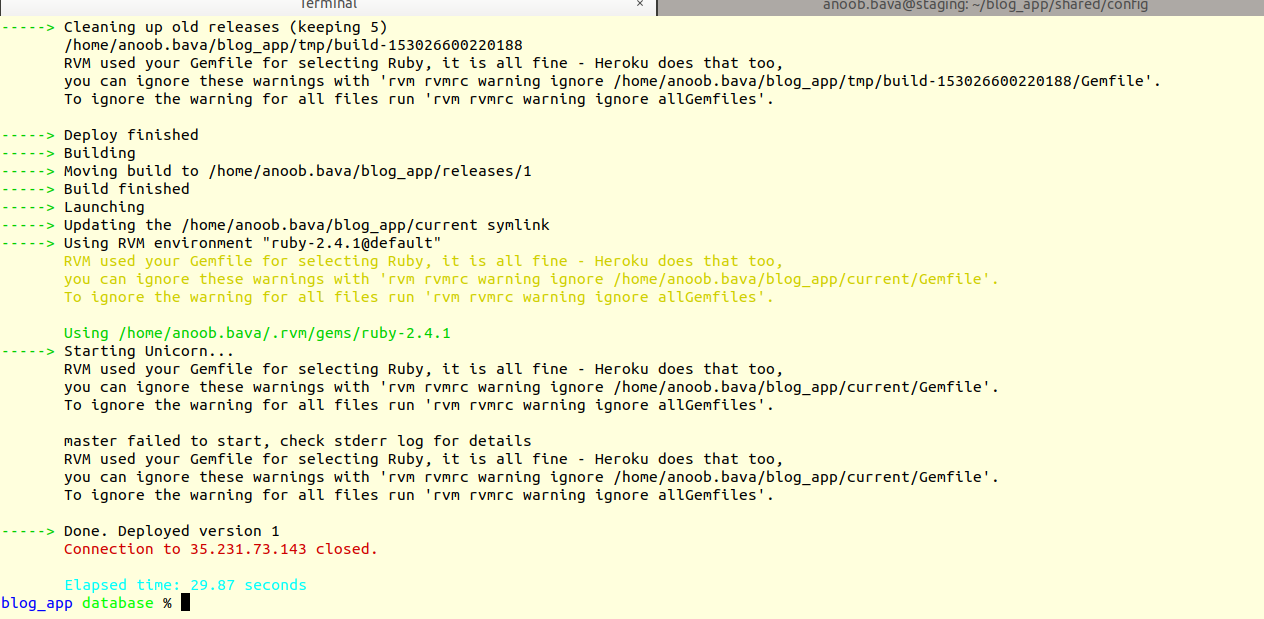
Now again will do the mina deploy
Awesome, we are good to go, our app is deployed,but it is not for accessing our
browser, need to do some tweaks, Great working guys.
5.setup nginx and unicorn
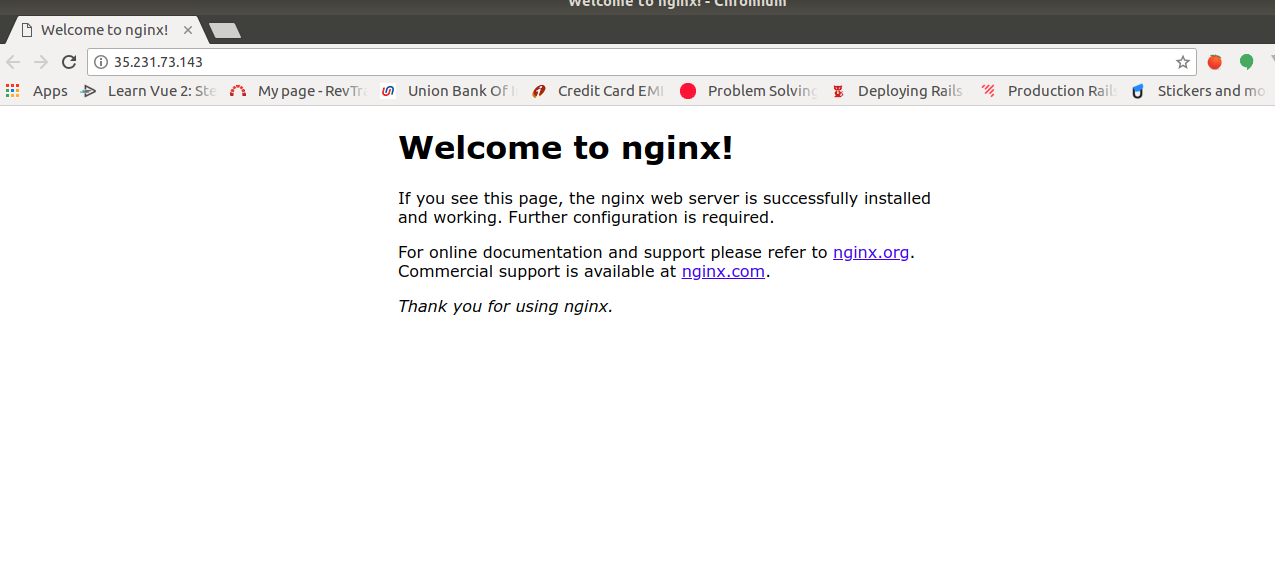
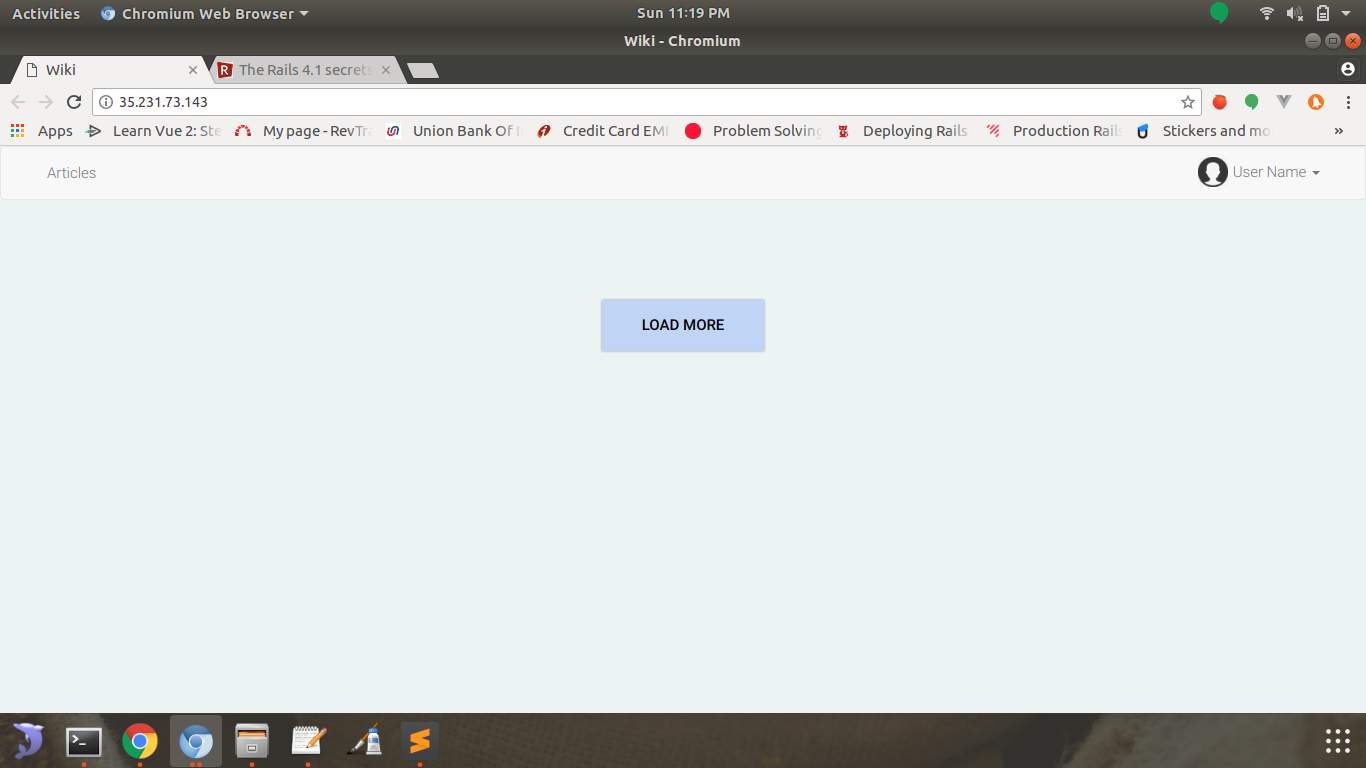
Now, I want to check whether the nginx can be accessible via ip-address.
just go to ip-address in the browser,
Awesome, you got the output, now only some tweak is needed.
first update the nginx configuration with below configuration, it is normal
config, only we need to know about the pid file and error logs.
now copy the config to the /etc/nginx/sites-enabled/default file.
then restart the nginx using the
1
sudo service nginx restart
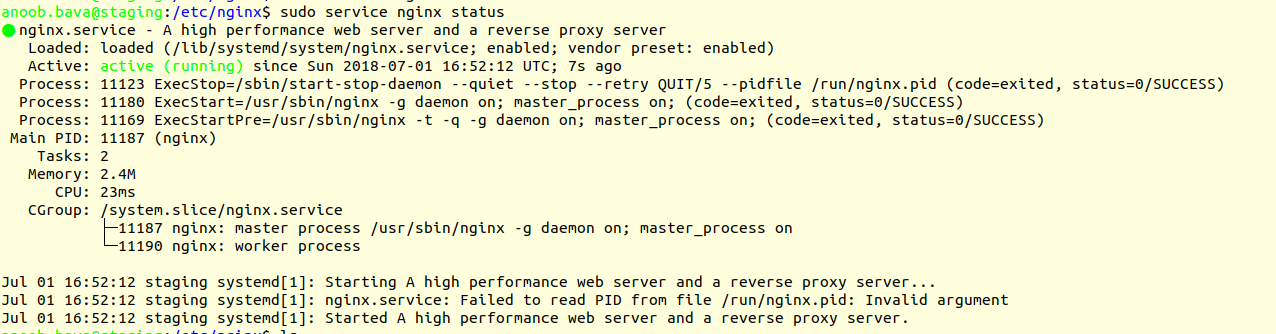
now nginx is okay, please check the browser we are hitting and also check the
log if any errors are happening.Log will be in the below path
/var/log/nginx/error.log and /var/log/nginx/access.log
Awesome!!, it is hitting the nginx, but the page is not loaded, so the issue is
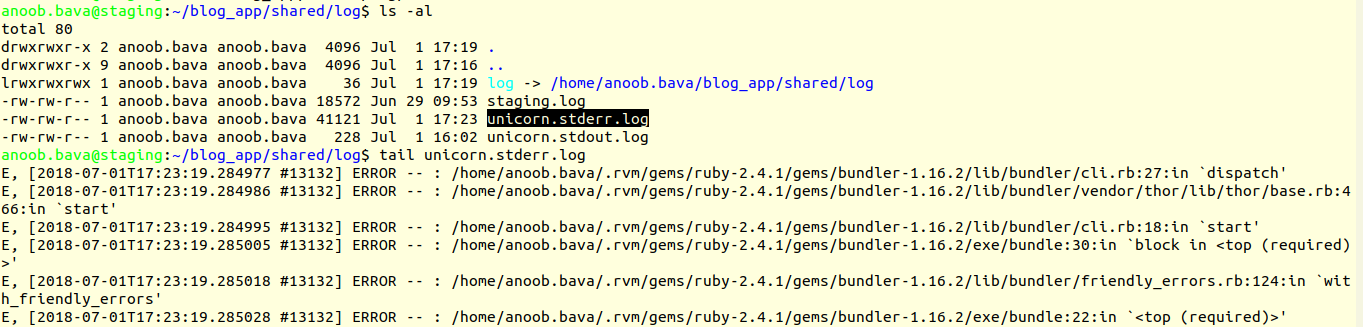
with the unicorn, we will check the unicorn logs for this.
unicorn log will be in the blog_app/shared/log/unicorn.stderr.log
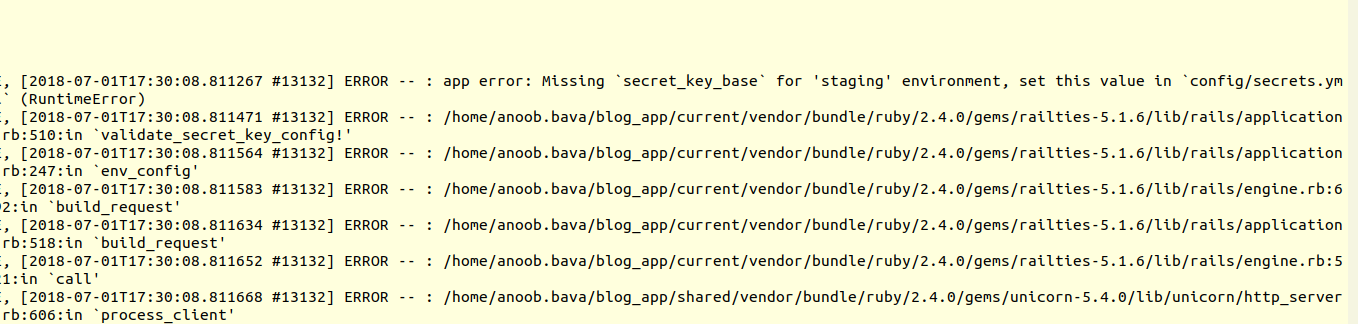
tailing this error will reveal the real issue (ie tail -f nicorn.stderr.log)
cool, the error is because, we have not set the secret key base, in the
secrets.yml, need to set that and then proceed.
by running the below command from the current path in the server console,
1
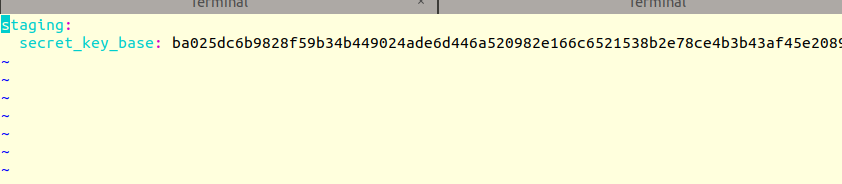
bundle exec rake secret
then update the command in the config/shared/secrets.yml with like below
the reason for staging, we are deployed to staging server.
Now, repeat the steps like we already done
restart the nginx
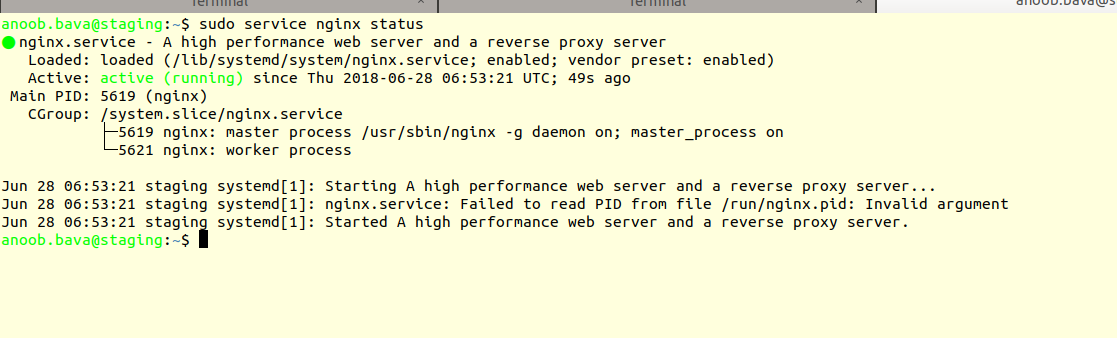
check the status of the nginx
mina deploy from the project terminal(not from the GCP terminal!!!)
tail -f /var/log/nginx/access.log to check it is hitting or not!!!
go to the ip-adress in the browser,
hooray, we are all done, now we need to explore additional options like,how to
store the images, login issues etc.
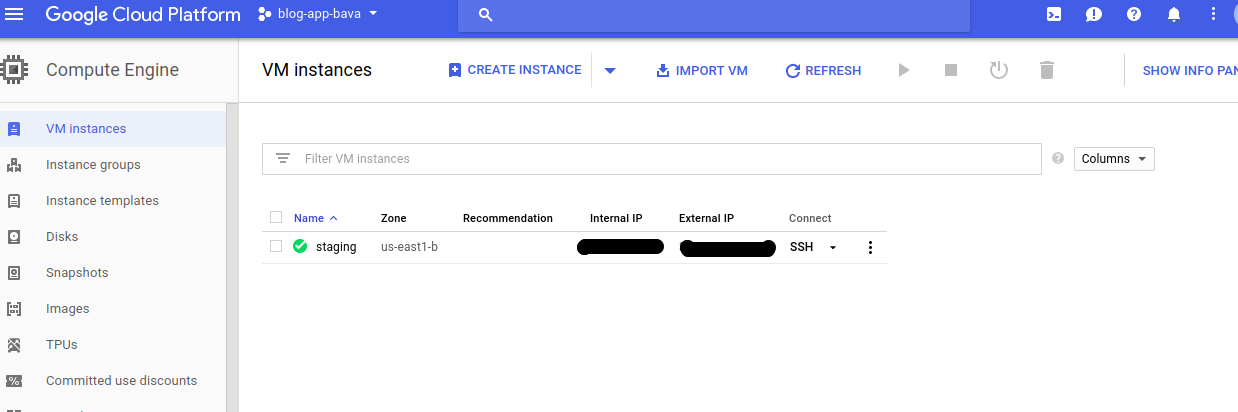
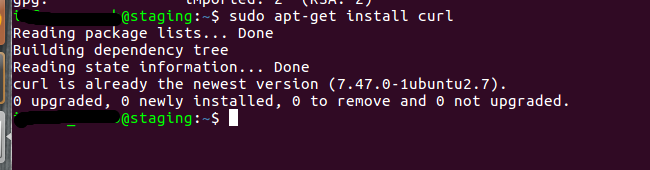
Hi All, this is the 3rd post of our deployment tool, so far we have covered the Setup for instance and installing ruby and postgres. Now what we want is to install the Nginx and Unicorn. Nginx is our App server and Unicorn is our web server. We are Not going to explain about the concepts of nginx and Unicorn; instead we used these tools to deploy our App.We already had a staging server, we used that to setup and installation.
A little House keeping
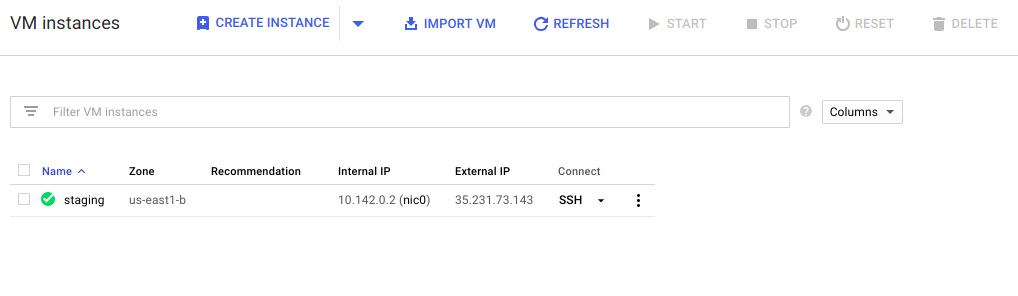
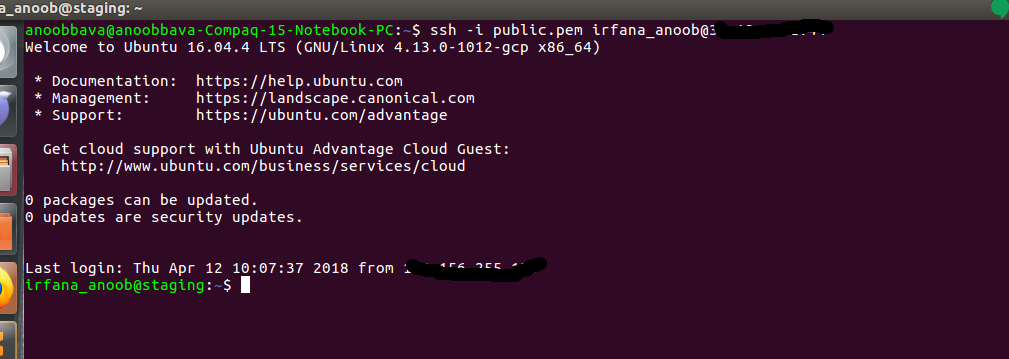
Image of the staging server is running.
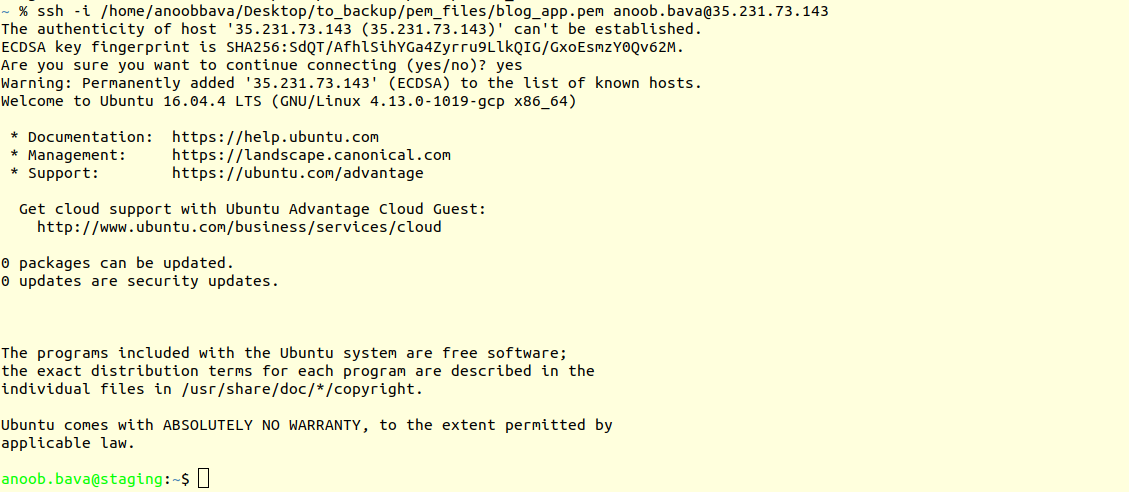
terminal connection in staging server
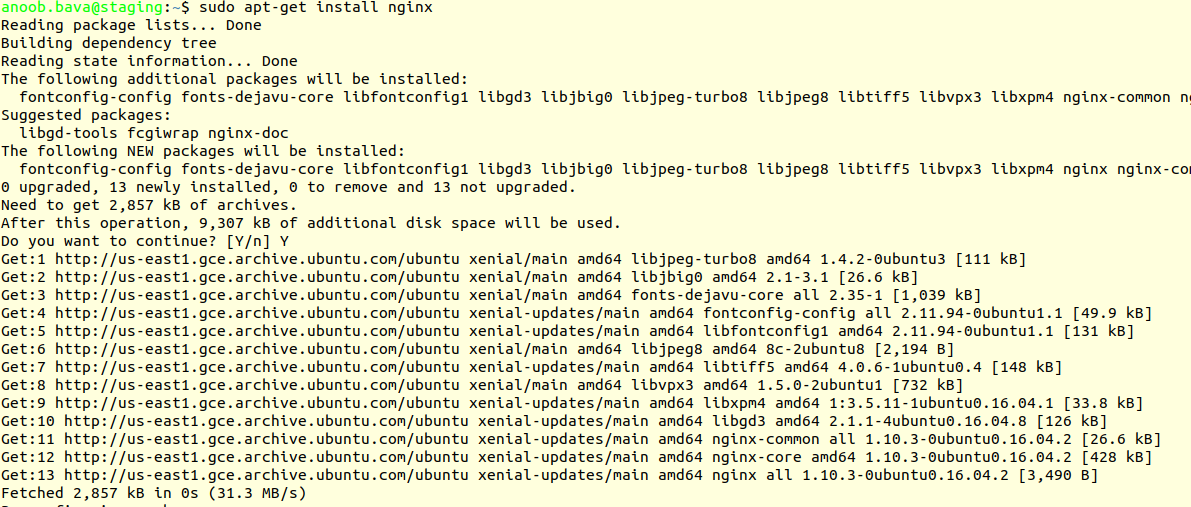
Setup Nginx
1
sudo apt-get install nginx
Now Check the nginx status using
1
sudo service nginx status
other commands
to restart nginx
1
sudo service nginx restart
to stop the nginx
1
sudo service nginx stop
to start the nginx
1
sudo service nginx start
here we are not configuring the nginx right now, we will do that later.
Installing Unicorn
Like I already said, we are using the unicorn as app server,by default puma is
the development server with Rails 5.X.X.
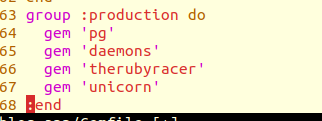
1.add the unicorn gem to production group
1
gem 'unicorn'
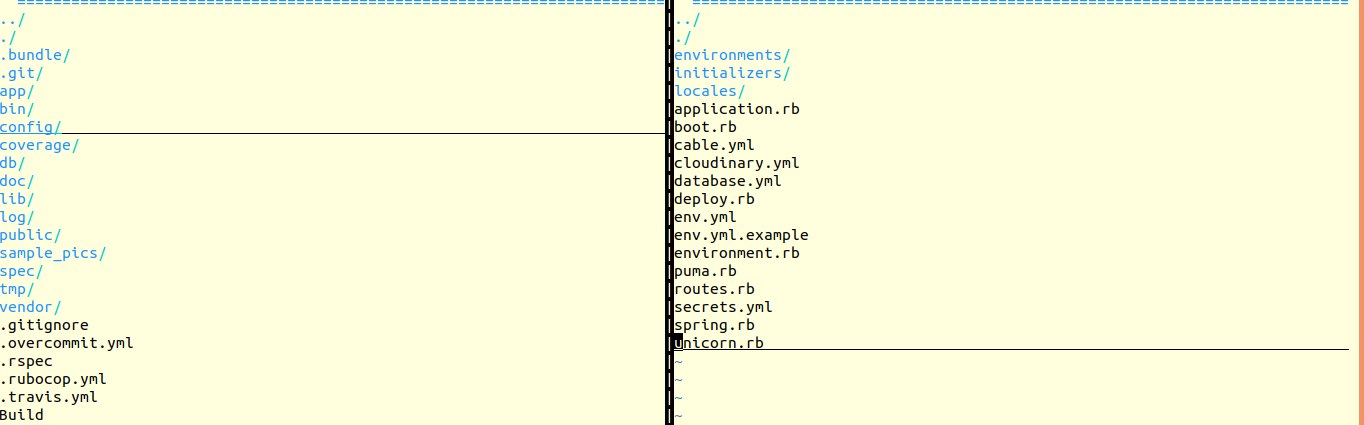
add the unicorn configuration file in config/ path
Consider only the unicorn.rb file only.The total scripts are added below for
verification, Like I already said, there are a lot of configurations are there.
Just google it for details.
3.commit these code changes to our code base, since I have already commit those,
I don’t want do it again.
I know, it is only a short blog, we just covered here, will explained about
deployment using mina in the next blog,!!promise
I have an app called clone app and the user will update some information to the table call user_informations. Our requirement is to copy this data to another table user_information_backups. It will be a background job. But we dont want to run this when the user updated the user_informations, instead what we are planning is to do the backup in each 5 mins. when the backup is completed, mark the cloned one master as flagged to restrict one information to be taken more than one.
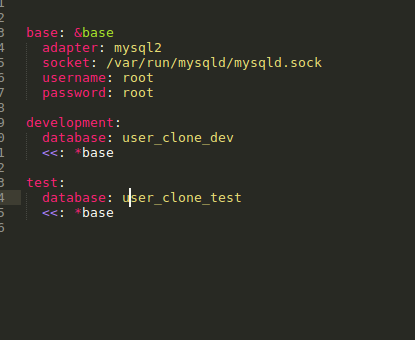
used the database as mysql in dev, since I have sqlyog to installed for proper UI View and understanding.
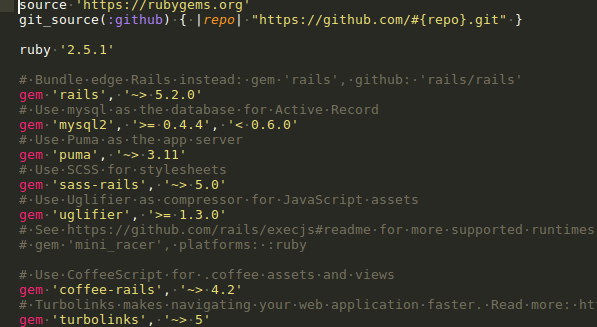
database is mysql , we can understand from the gemfile.
my database.yml file is attached below
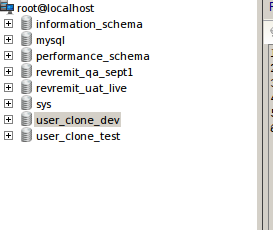
Need to create the database
now the database is shown in the sqlyog tool
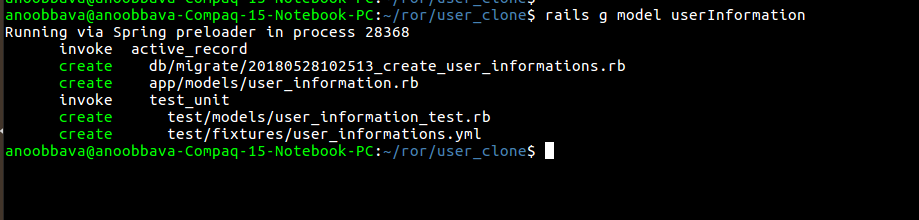
create the model UserInformation
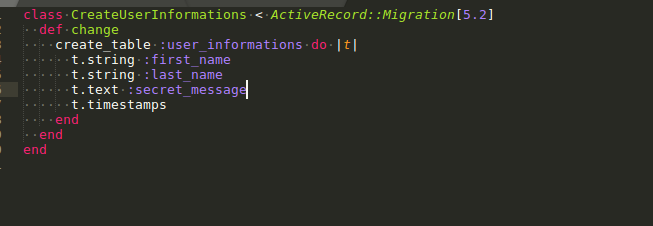
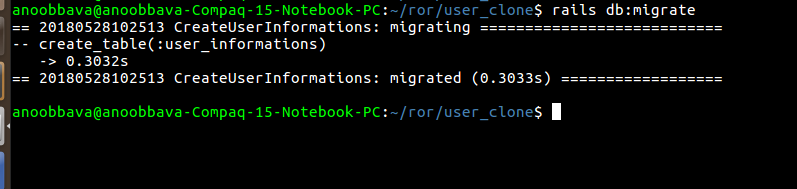
update the user_informations migration
migrated the file
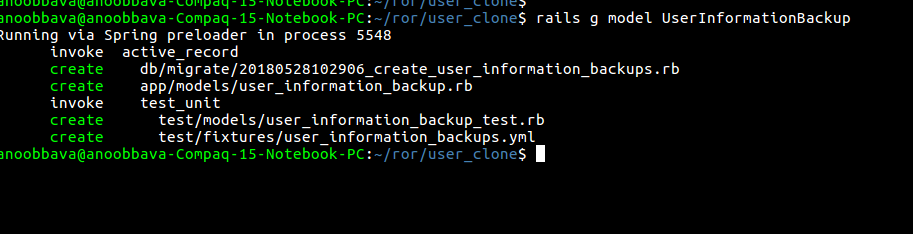
created the model UserInformationBackup
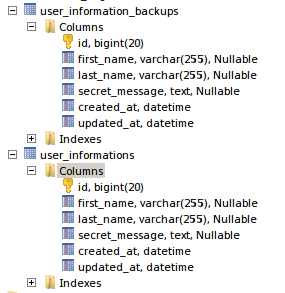
display the table in sqlyog
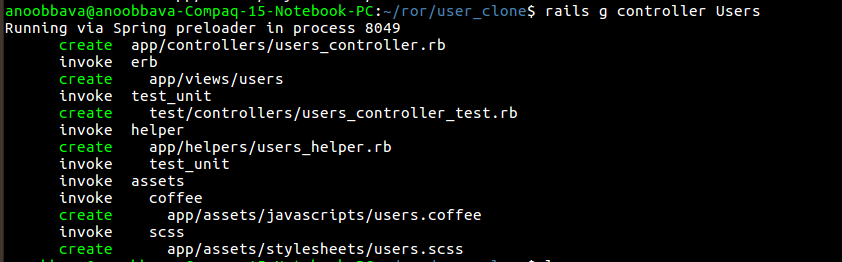
Now, we need to generate the controller
Do the crud operations.
controller code is attached here below,
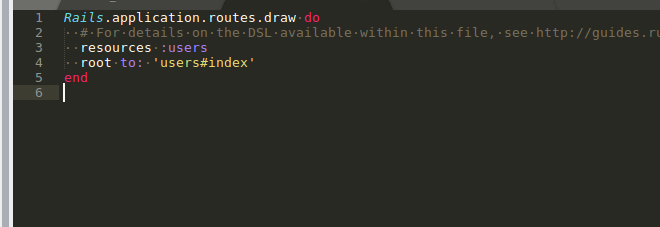
routes file
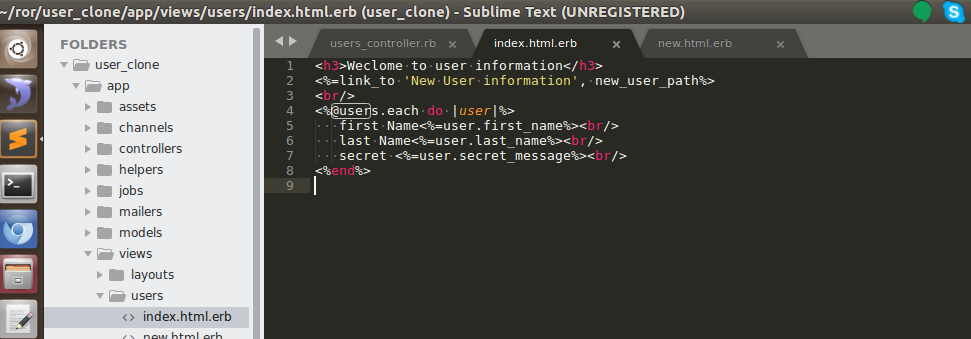
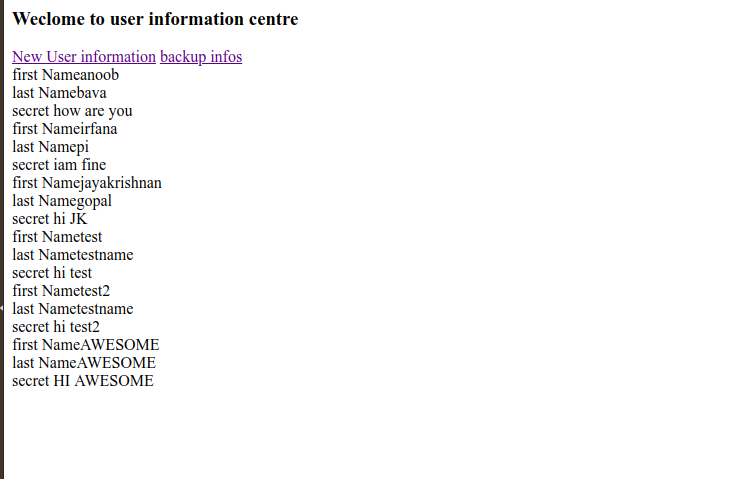
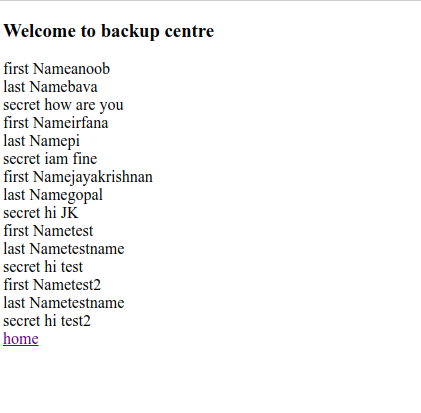
index page
new Page
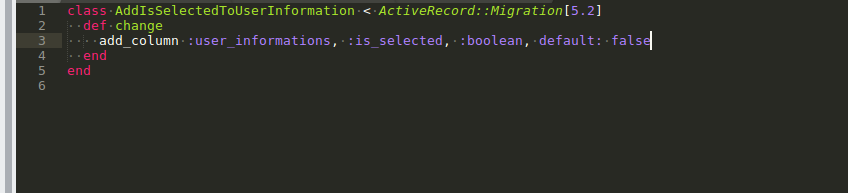
update the migration to fetch only the unselected ones
is_selected to user_informations , default value: false
add a custom action in controller and route
1
get 'users/display_backup', to: "users#display_backup"
action in controller
123
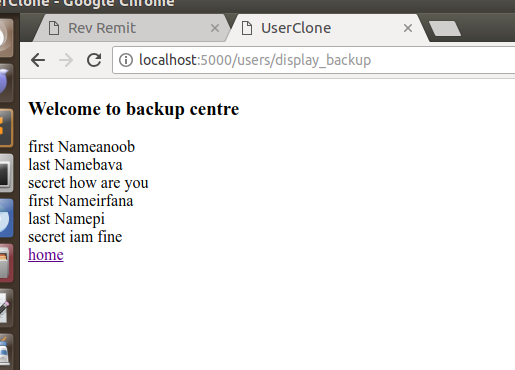
  def display_backup
    @users = UserInformation.all.where(is_selected: false)
  end
create the view part for the action
Now, the Application part completed, moving to our delayed_job and its works.
Delayed Job
install delayed_job
1
rails generate delayed_job:active_record
1
rails db:migrate
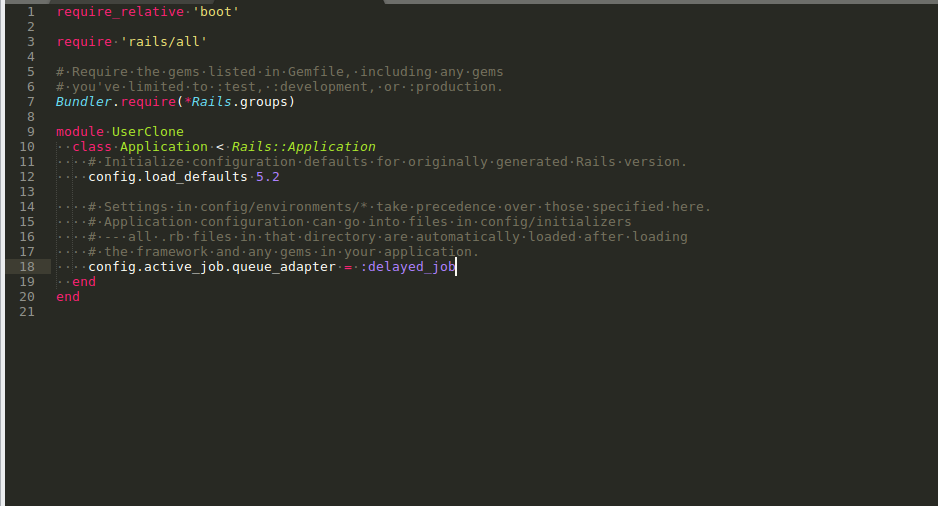
set the below config in application.rb
1
config.active_job.queue_adapter = :delayed_job
Now the backup process code explained
12345678910111213141516
  def self.intiate_backup
    user_details = UserInformation.fetch_details
    if user_details.present?
      instance_data = []
      user_details.each do |user_data|
        user_backup_instance = UserInformationBackup.new
        user_backup_instance.first_name = user_data.first_name
        user_backup_instance.last_name = user_data.last_name
        user_backup_instance.secret_message =user_data.secret_message
        instance_data << user_backup_instance
      end
      UserInformationBackup.import instance_data
      user_details.update_all(is_selected: true)
      end
    end
  end
now test this process via Delayed job, we can use the rails console to check this
now the entry got added, we can this delayed job using the command
1
bundle exec rails jobs:work
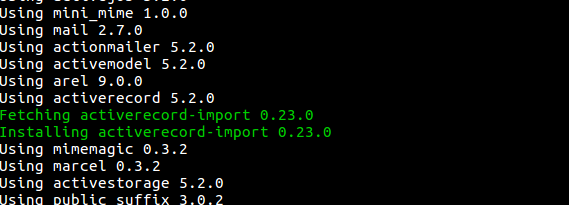
one issue we have encountered is we have used model.import , which is coming from
1
gem 'activerecord-import'
it is not added here, need to add the gem and do the bundle install
1
gem 'activerecord-import', '~> 0.23.0'
and do the same same as via console and restart the delayed job
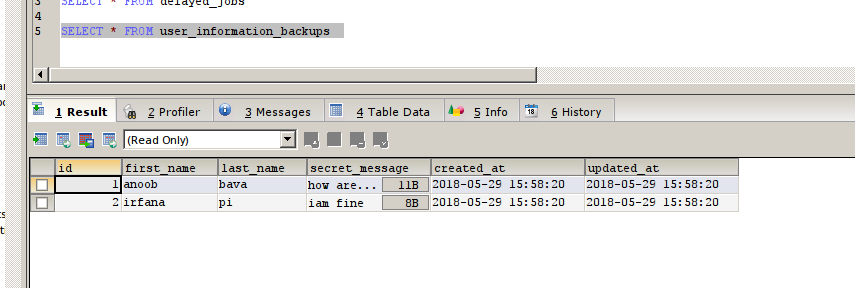
hooray , our process is done, now it will be cloned to the user_information_backups table
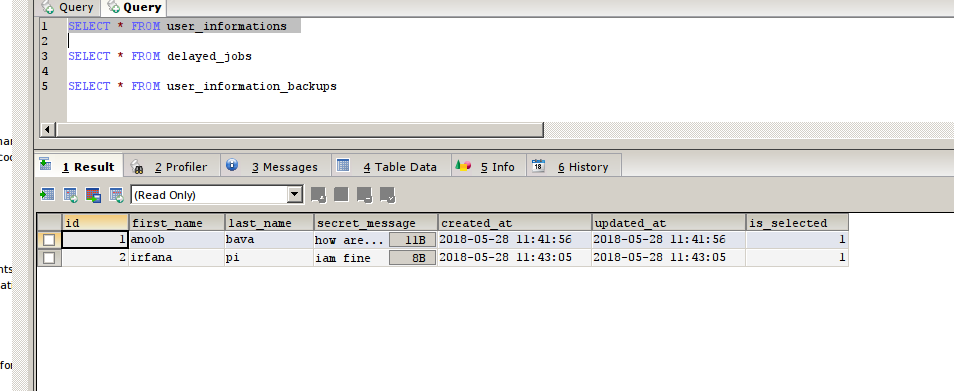
user_informations table
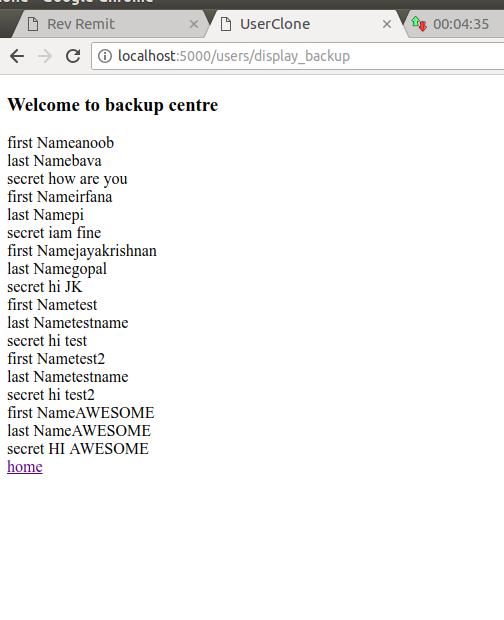
user_information_backups table
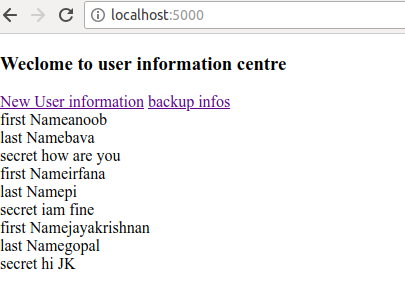
now 2 images got the same, we can’t see any difference. in order to check the difference we will create a new entry to the user_informations table via UI
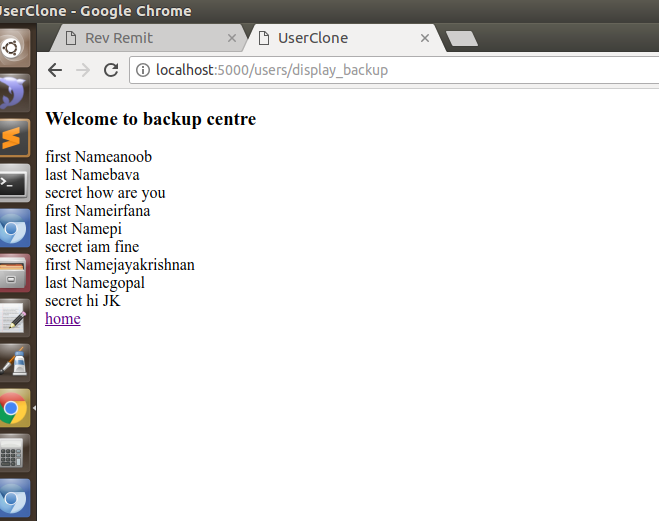
I have added jayakrishnan as a new entry, since this data is not cloned by the user_information_backups, it will not be there.
Now we run the DJ via console and see the magic,
Now it is the time for our cookery show, we will do the delayed job recurring.
add below gem to the gemfile.
1
gem 'delayed_job_recurring', '~> 0.3.7'
and do the bundle install
create a folder in app/interactors.
create a file in that, we can use any file name for example, created a file name clone_process.rb in
1
app/interactors
12345678
  class CloneProcess
    include Delayed::RecurringJob
    run_every 5.minutes

    def perform
      UserInformationBackup.intiate_backup
    end
  end
Now, this class needs to be called for one time, for reuse, we can use the rakes;
path: lib/tasks/recurring.rake
12345
namespace :recurring do
  task init: :environment do
    CloneProcess.schedule!
  end
end
In order to run this recurring job for one time, need to call the rake task using
1
bundle exec rails recurring:init
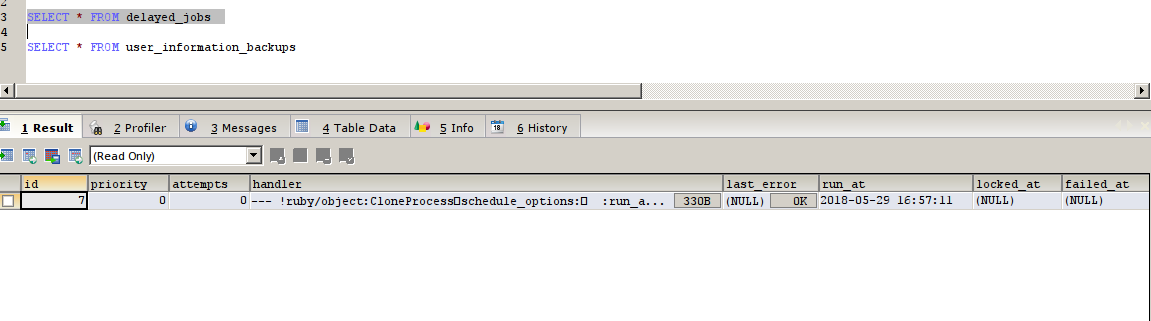
Now
An entry is being made up in the DJ and it will be updated by the delayed_job_recurring gem
in order to test this we will create a new data via UI and wait for the DJ to pickup
Hi All, Welcome to series 2, here are explaining about the ruby and Postgres installation to our GCP Server. If you know about that in linux 16.04 version, you can skip this tutorial. this is entirely based on the ubuntu 16.04 LTS machine and not much . I read the digital ocean, GoRails etc to publish this article and use the tehniques explained by them also.
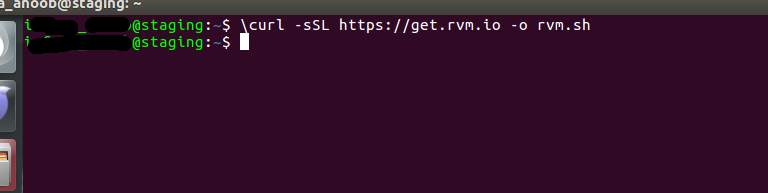
Now, the below command installs the latest version of the rvm and does all the depandancies.
1
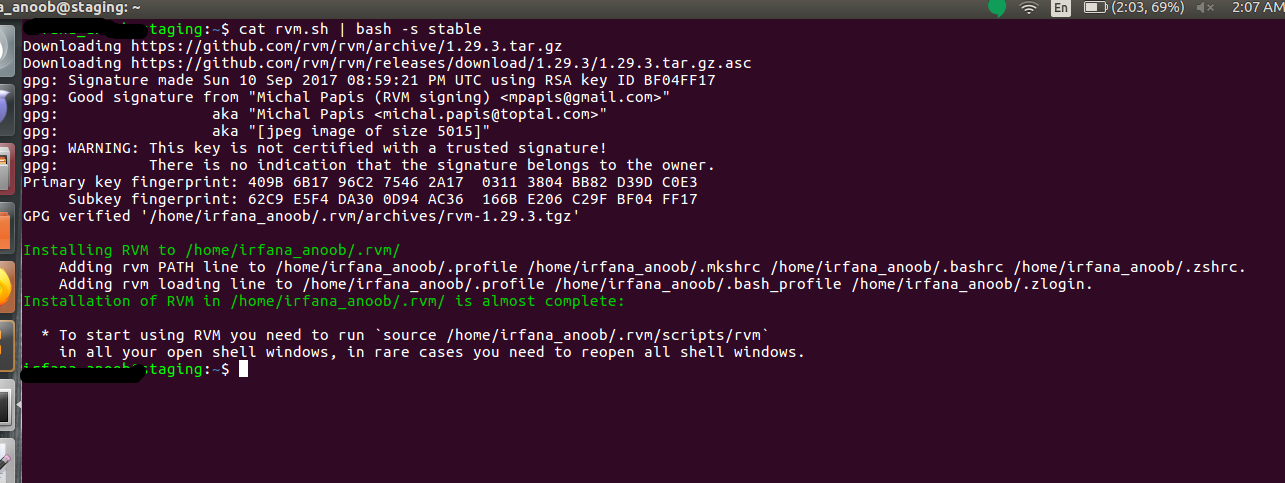
cat rvm.sh | bash -s stable
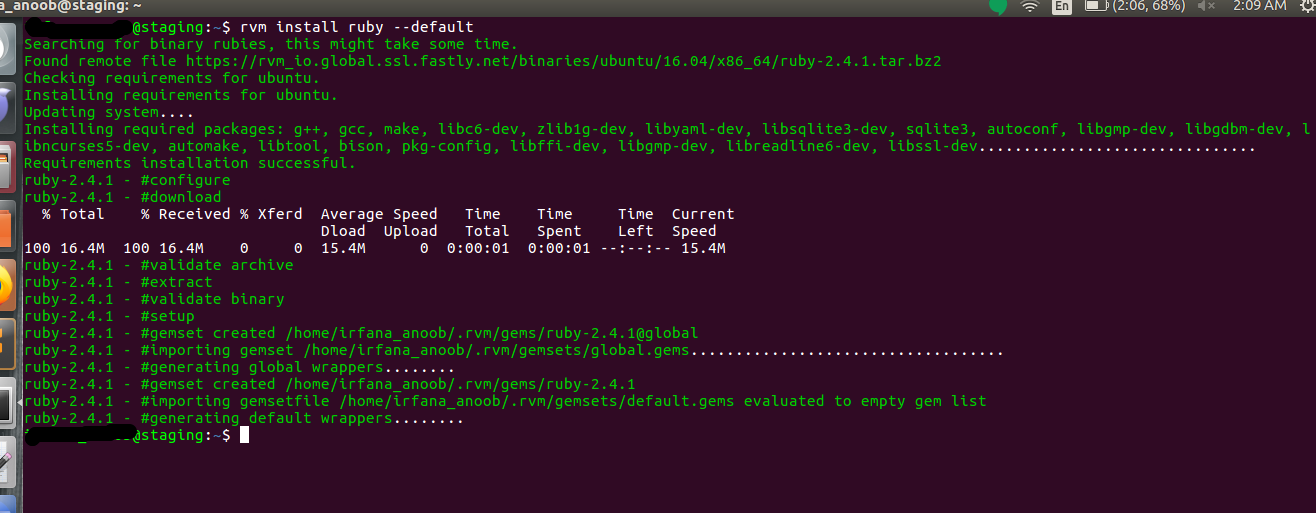
Now, install the lates version of Ruby, using the below command
RVM use
Installing RVM to /home/username/.rvm/
Adding rvm PATH line to /home/username/.profile /home/username/.mkshrc /homeusername/.bashrc /home/username/.zshrc.
Adding rvm loading line to /home/username/.profile /home/username/.bash_profile /home/username/.zlogin.
Installation of RVM in /home/username/.rvm/ is almost complete:
To start using RVM you need to run
source /home/username/.rvm/scripts/rvm
in all your open shell windows, in rare cases you need to reopen all shell windows.
This will be a series of tutorials in which step by step deployment of a ROR project in Google Cloud or GCP. From here onwards it is mentioned as GCP.
Why GCP
I am a huge Fan of Open Source Technologies, I have used the Heroku Free Tier, RedHat,Engine Yard Also. I have been tried to use the AWS for a long time. The issue with AWS is that it has free tier but needed credit card to sign-up.Also In the case of heroku, is a PAAS Application and all the process are automated and customisation is less.
Pros of GCP
comes from Google , oh! Yaaah
No need of credit Card
Need only debit card with VISA or MASTER CARD.
gives us the $300 credit once signup.
$300 credit for 12 months
Google Cloud Platform, offered by Google, is a suite of cloud computing services that runs on the same infrastructure that Google uses internally for its end-user products, such as Google Search and YouTube.
We have explained here is the basic use case to deploy the app, for more details, please refer the official guide.
add the payment details; dont worry, only debit Card needed, they is no harm because of this, they dont take amount from account unless you have to upgrade the account.
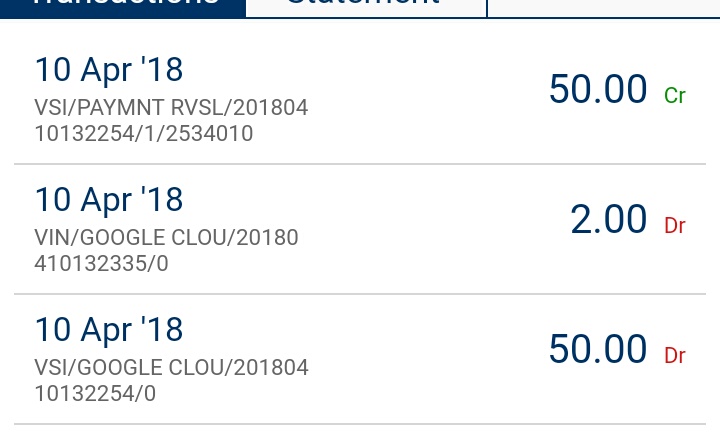
Note:
I have used ICICI Debit Account, and they deducted 50Rs from my account to verify and returned the amount. So No Worries, only i got is a 2 rs for MY OTP.
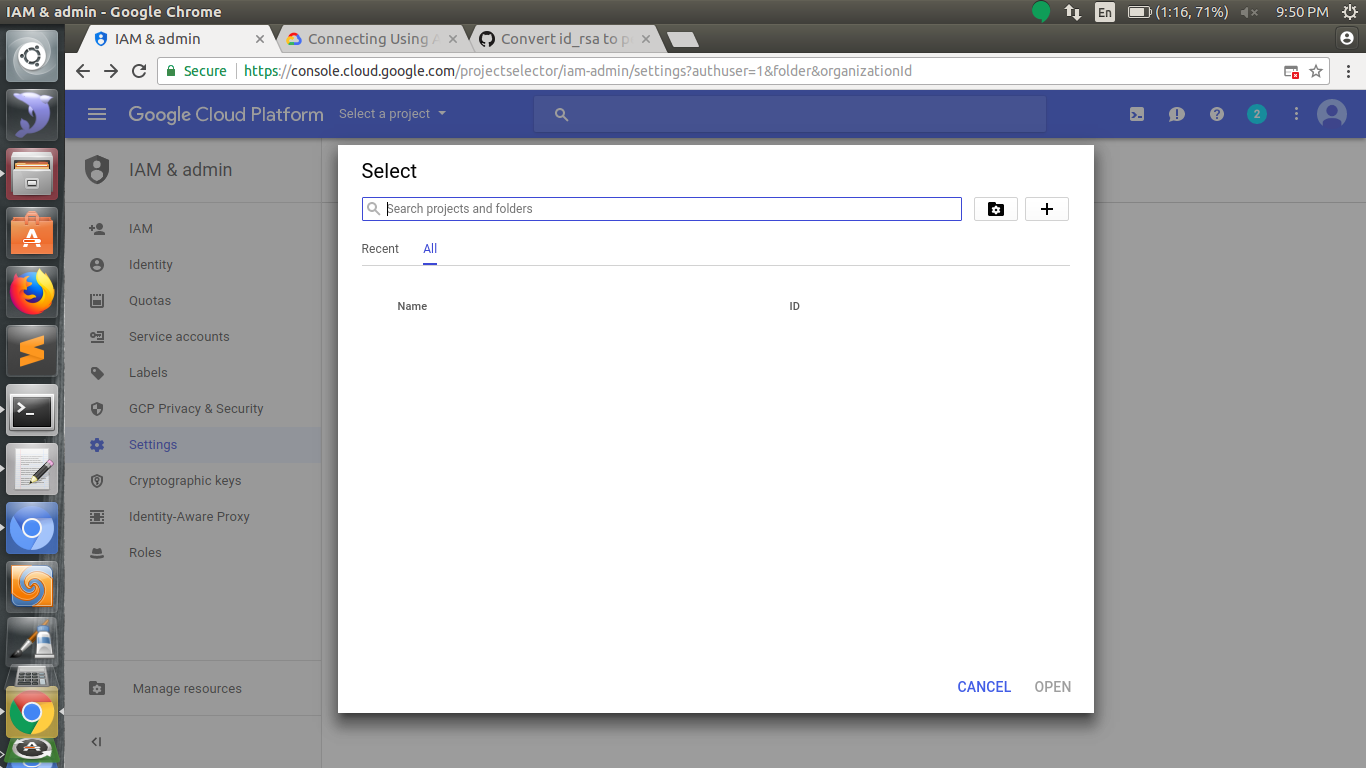
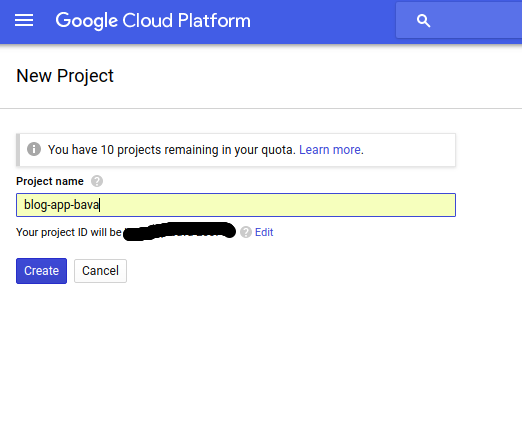
Create a Project
Now, create a Project.
give a name for the project
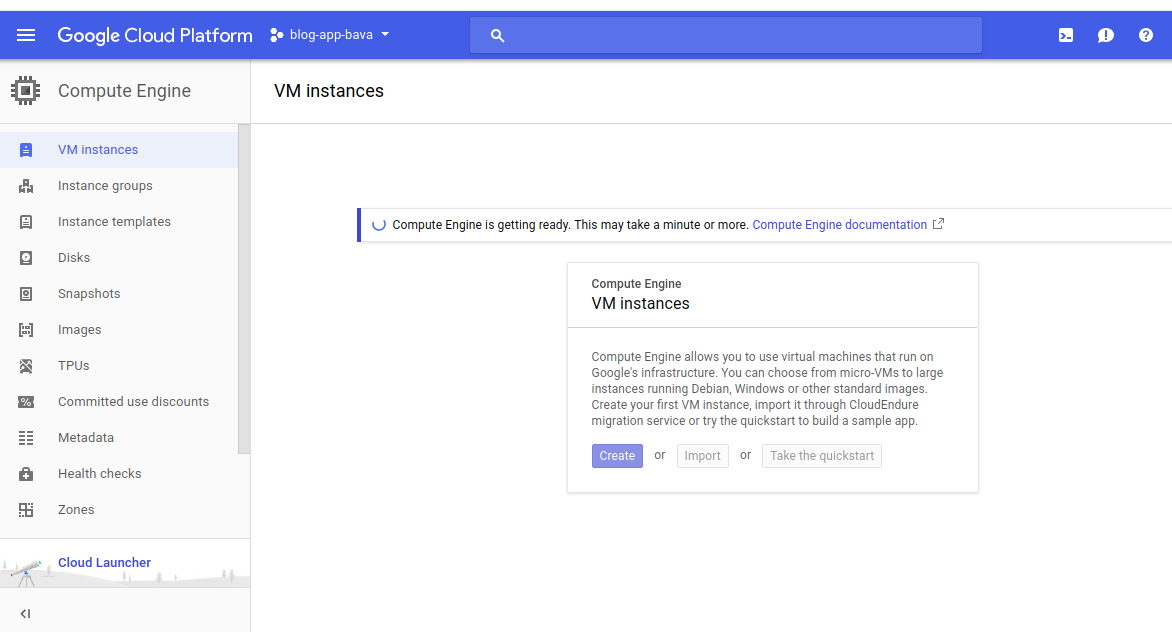
Create an instance
Now the process is create the instance. Instance is something like a virtual machine. This can be fetched from the Compute Engine. Example instances are production, staging etc.
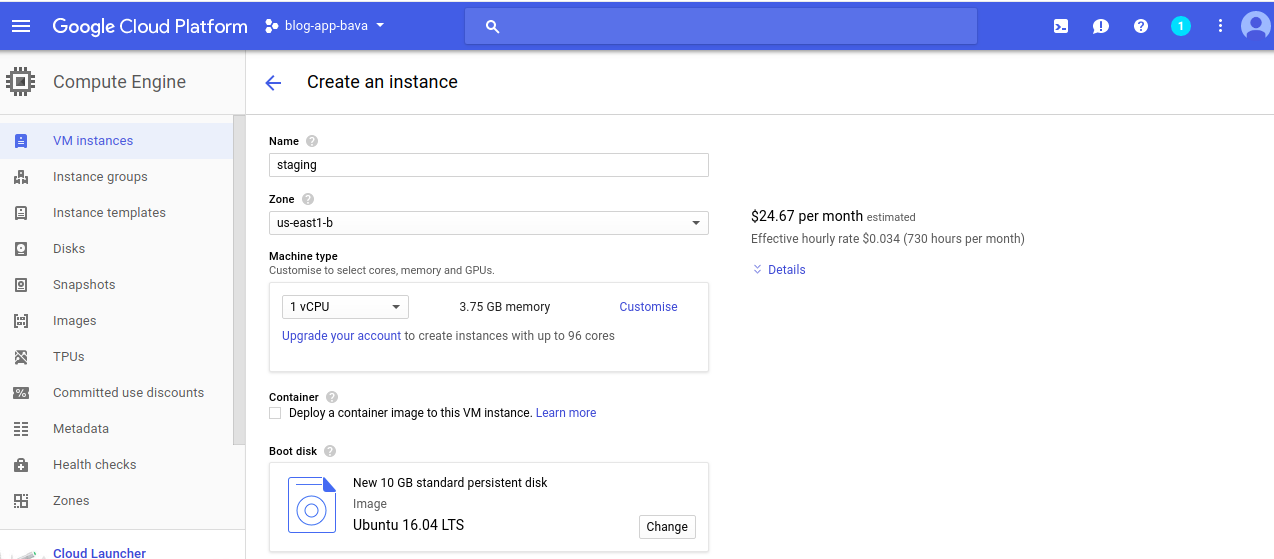
Now, add some details to complete the instance creation.
I have used is the ubuntu 16.04, you can choose your BootDisk.
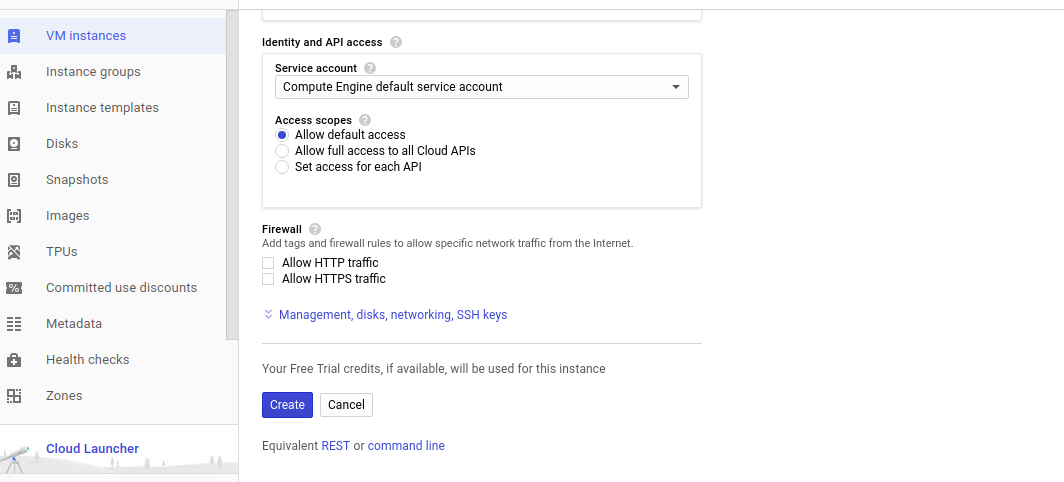
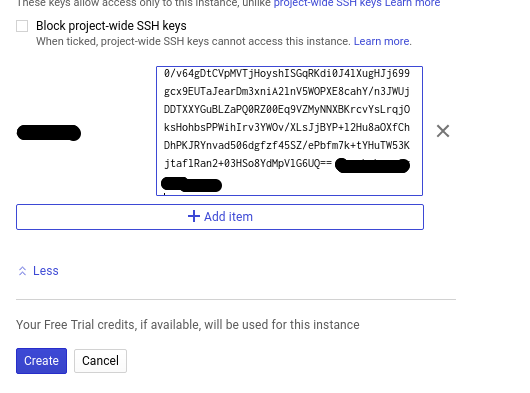
Now, important part, need to link the SSH Key to the GCP.
click on the create instance
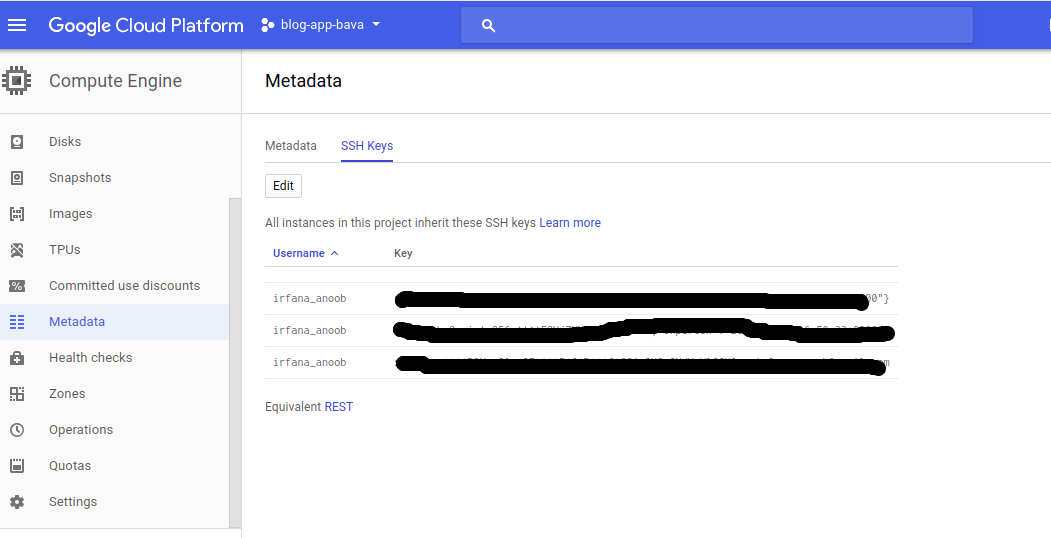
Link SSH to GCP
go to the metadata and click on the SSH keys and ADD,then paste the public key to there.
In order to do that, need to copy the public key
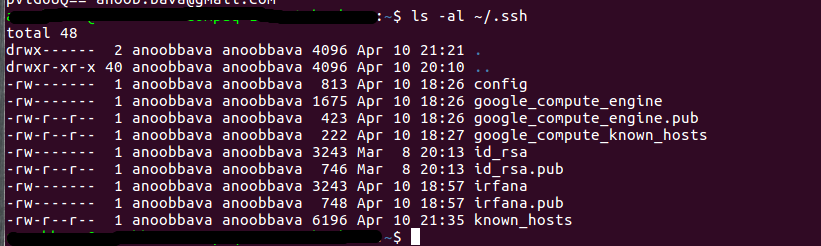
Show the available SSH keys
1
ls -al ~/.ssh
copy the desired public key
1
head ~/.ssh/id_rsa.pub
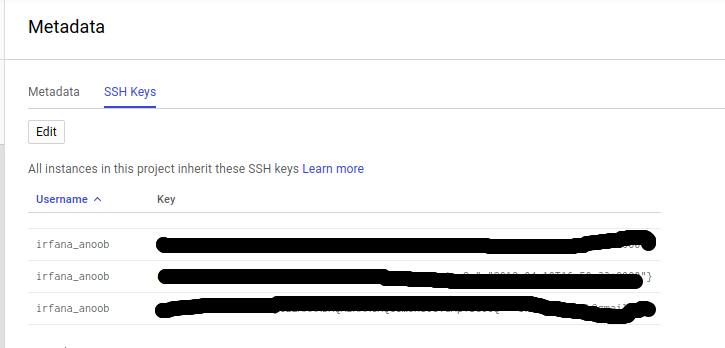
Add the public Key to the GCP
Create a Pem File
because of security concerns and multiple connectivity of instances, We need to generate the pem file from the public key, this is achieved by using.
As discussed in the previous blogs, heroku is an awesome tool to deploy our application within minutes and no hassles. The issue is with the heroku is, for each specific applications ,need to use the add-ons. some are free and others are paid version. But to use add-on like cloudinary need to provide the credit card info, Here we are explaining how to bypass this issue
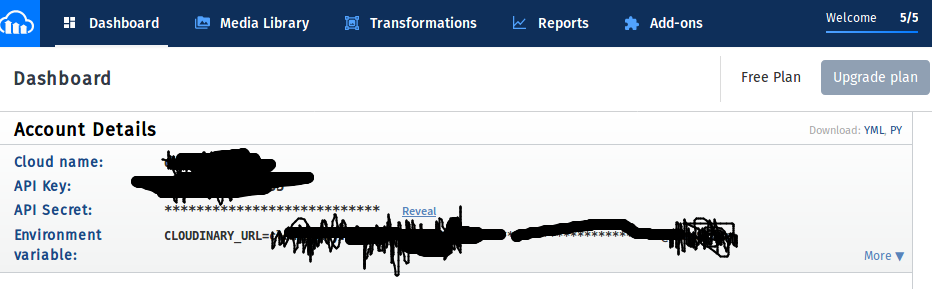
Cloudinary
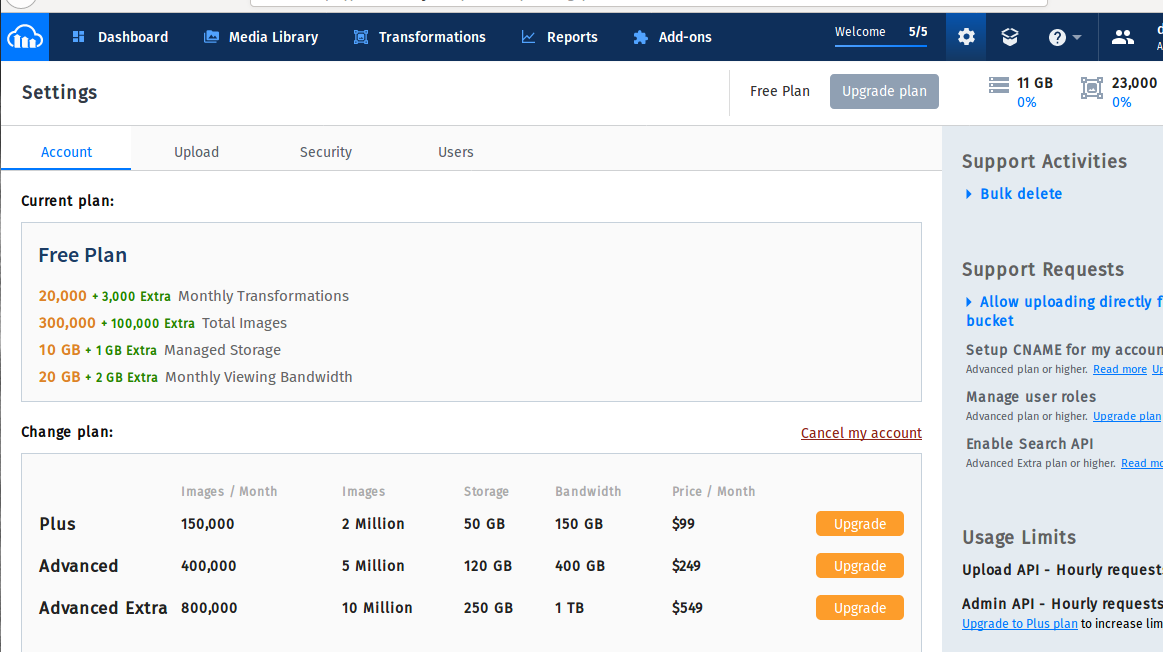
Cloudinary, as the name indicates it is a cloud space to save the images and videos. Can be used for both the web and mobile platform. Also the cloudinary provides a cool space as free tier(10GB something and 300000 photos). when We tweet about them, they provides an additional 1GB Also, Awesome right and thanks to cloudinary too.
We all know that Heroku Running on the PAAS(Platform As Service) architecture. It is free for starter applications or hobby projects. For a normal projects, deplolyment phase consists of below steps
select service
install OS
install Ruby
install Rails
Install dB
Install AppServer
configure All
trust me, it is not a simple task, I have tried it and it is always in pain when setup. Takes deep knowledge to master in deployment. But for heroku is so cool and no worries, But here we have not discussing that,we are facing and issue with migration and this migration need to run every time after the code is deployed.
We need to run the below code every time after “git push heroku master”
1
reroku rake db:migrate
Solution
thanks to Heroku, they created something called release, which will be like a after_update callback to call this process. for that need to add some code to the Procfile
what is a Procfile
As copied from heroku doc
```
A Procfile is a mechanism for declaring what commands are run by your application’s dynos on the Heroku platform. It follows the process model. You can use a Procfile to declare various process types, such as your web server, multiple types of workers, a singleton process like a clock, or the tasks you would like to run before a new release is deployed to production.
Every dyno in your application will belong to one of the process types, and will begin executing by running the command associated with that process type.
create a file called Procfile in the Application root path, ensure no extensions and nothing more in the file
Add the below code in to that file,
release: rake db:migrate
hooray. all done, now do work, system will automatically check the migration files and executes them.
Note
this process explained on the assumption that, you know the deployment of heroku and enable automatic deployment using github also.
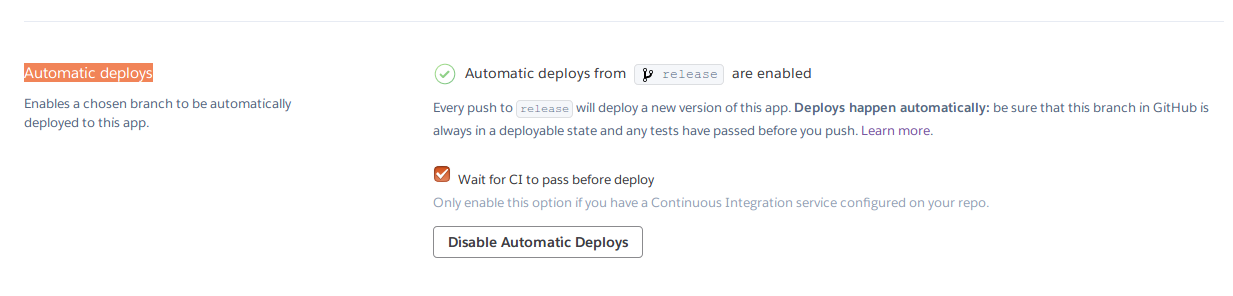
Automatic Deployment using Github
Heroku provides a service to deploy the code to production once we commited in a specific branch. For me, release is the deployment branch. Need to a simple step to do that
choose the Deployment method and connect to Github
in the Automatic deploys section select your branch,
I have configured the test suit by Travis CI, thats why checked the option Wait for CI to pass before deploy
all set. thanks guys, comment if any error or doubt happend
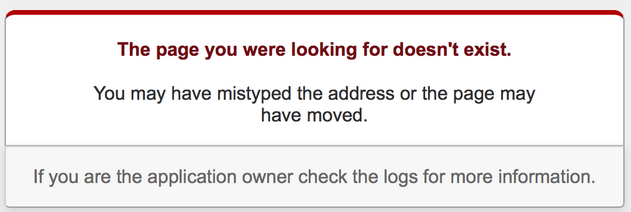
We All know what this error page means, it is the 500 error when the internal Server issue. The problem of this issue on the server level like server Time out out or Internal issue or anything.It is not user friendly, it is the custom error page from the rails itself.
Where is the Error Page ??
For every Rails Project, the Page is inside public/ folders, the files are
404.html
422.html
500.html
this is the source of this error UI.
We can follow 2 approaches
simple one
coding approach
Simple one
update the files with custom html and files, so the file loaded will be based on the new custom template.
To test this, suppose your server is running on “localhost:3000” server, we can just type
localhost:3000/500 or localhost:3000/404 or localhost:3000/422
if it s not working, go to the “config/environments/development.rb” and make the line to “false”
config.consider_all_requests_local = false
Coding Approach
We can divide this approach to 5 parts
update in the Application.rb
Remove the public static files
Add the routes
Create a new controller
create the views
Update in the application.rb File
config.exceptions_app = self.routes
Remove the static files
All the depandant files like 404.html, 422.html, 500.html. Delete all these files
Add the routes
    get '/404', to: "errors#not_found"
    get '/422', to: "errors#unacceptable"
    get '/500', to: "errors#internal_error"
this deontes the controllers and its action.
Create the controller
We need to create a new controller to make this logic works that is using a contoller “ErrorsController”
Add the action corresponding to that also,
skip_before_action :authenticate_user!
that code is to bypass devise, or else need to login to view the errors.
Create the views
create the views for the errors, so create folder named errors in app/views/
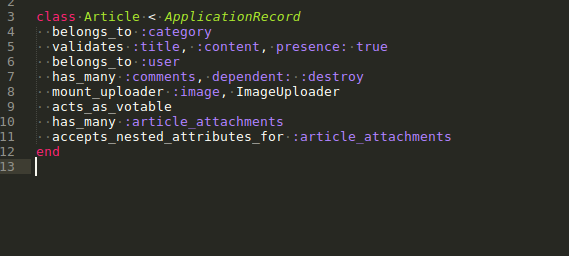
    def fetch_article
      @article = Article.find_by(id: params[:id])
    end
Create Action
Need to save the data fetched from user
    if @article.save
      params[:article_attachments]['image'].each do |a|
        @article.article_attachments.create!(image: a, article_id: @article.id)
      end
      flash[:notice] = 'Article Created'
      redirect_to @article
    else
      render 'new'
    end
Params Passing
    def article_params
      params.require(:article).permit(:title, :content, :category_id,
                                    article_attachments_attributes: [:id, :article_id, :image])
    end
Need to add the parameters to allow in to the system.
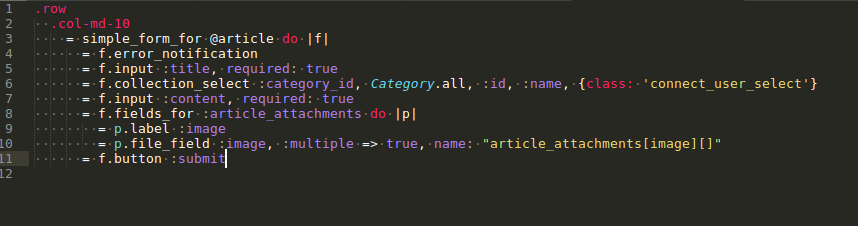
Accept image from user
We have updated the controller code, now in the View, in order to accept image from the user perspective need to update the form with below
Now what will happens is that in the create action, will get params with article_attachments and inside that “image” hash will have the images selected from user to be ready to be saved to the dB.
Show the output
Now we need to show the images after successful creation of an article. To do that, we have updated all the images belongs to the particular to this “@article_attachments” varaiable. What we need is just iterate and print the values.
    - @article_attachments.each do |image|
            .post-image
              = image_tag(image.image_url.to_s)
thats all done, Now check it is working ,please post if any doubts or bugs encountered.


 Now, install the lates version of Ruby, using the below command