Deployment using GCP

This will be a series of tutorials in which step by step deployment of a ROR project in Google Cloud or GCP. From here onwards it is mentioned as GCP.
Why GCP
I am a huge Fan of Open Source Technologies, I have used the Heroku Free Tier, RedHat,Engine Yard Also. I have been tried to use the AWS for a long time. The issue with AWS is that it has free tier but needed credit card to sign-up.Also In the case of heroku, is a PAAS Application and all the process are automated and customisation is less.
Pros of GCP
- comes from Google , oh! Yaaah
- No need of credit Card
- Need only debit card with VISA or MASTER CARD.
- gives us the $300 credit once signup.
- $300 credit for 12 months
Google Cloud Platform, offered by Google, is a suite of cloud computing services that runs on the same infrastructure that Google uses internally for its end-user products, such as Google Search and YouTube.
We have explained here is the basic use case to deploy the app, for more details, please refer the official guide.
signup
- go to got to GCP
- signup with your email
- add the payment details; dont worry, only debit Card needed, they is no harm because of this, they dont take amount from account unless you have to upgrade the account.
Note: I have used ICICI Debit Account, and they deducted 50Rs from my account to verify and returned the amount. So No Worries, only i got is a 2 rs for MY OTP.
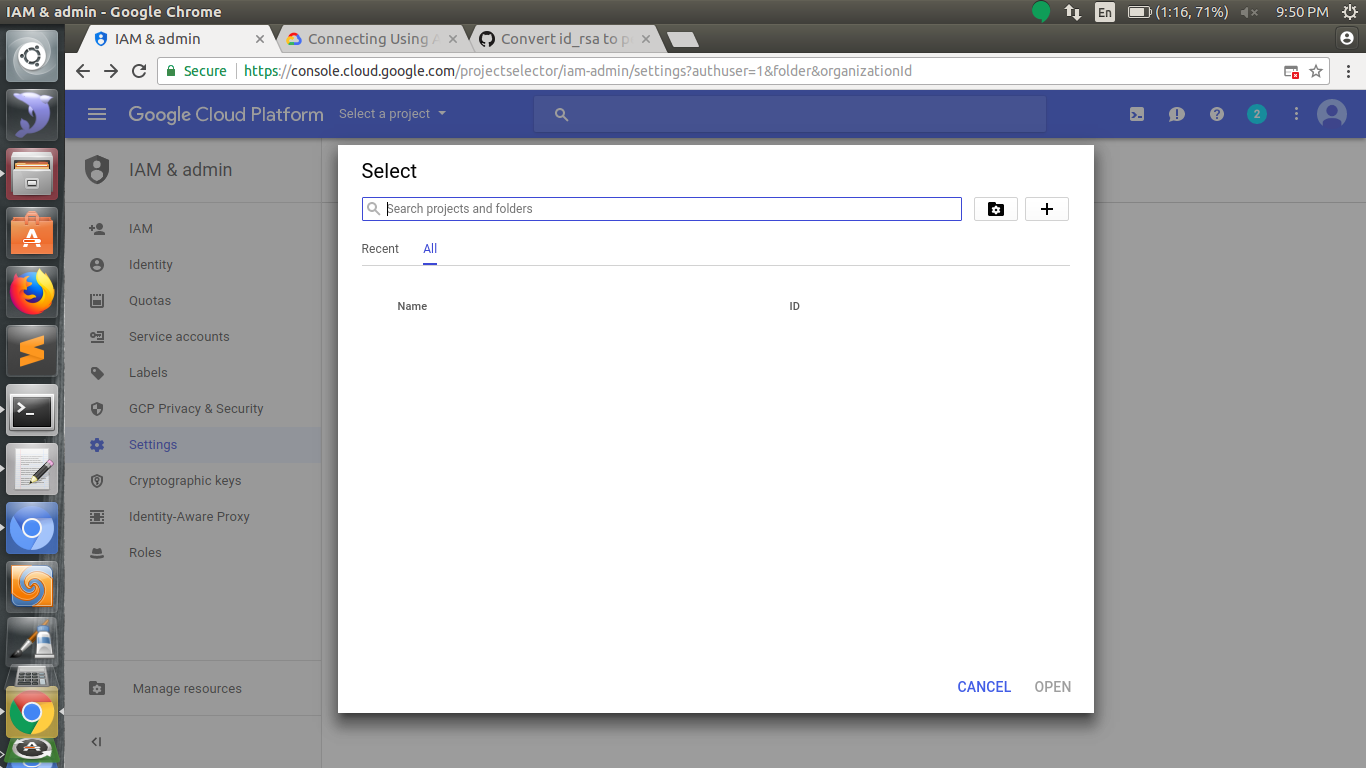
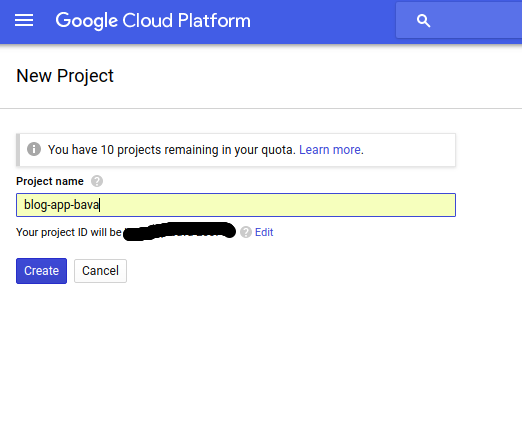
Create a Project
Now, create a Project.
give a name for the project
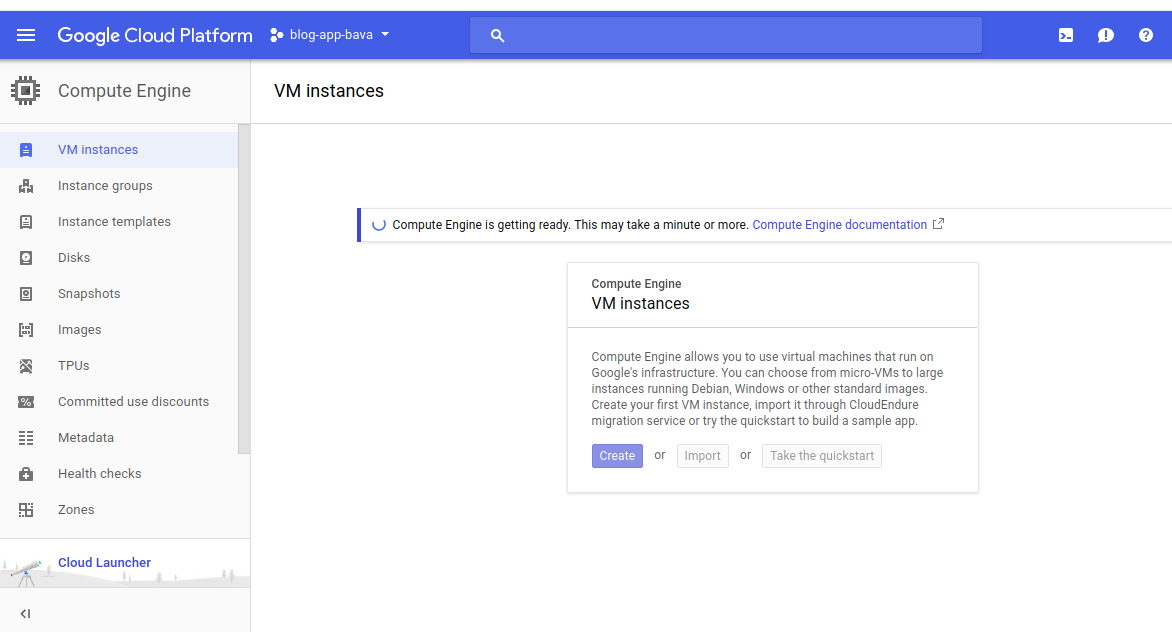
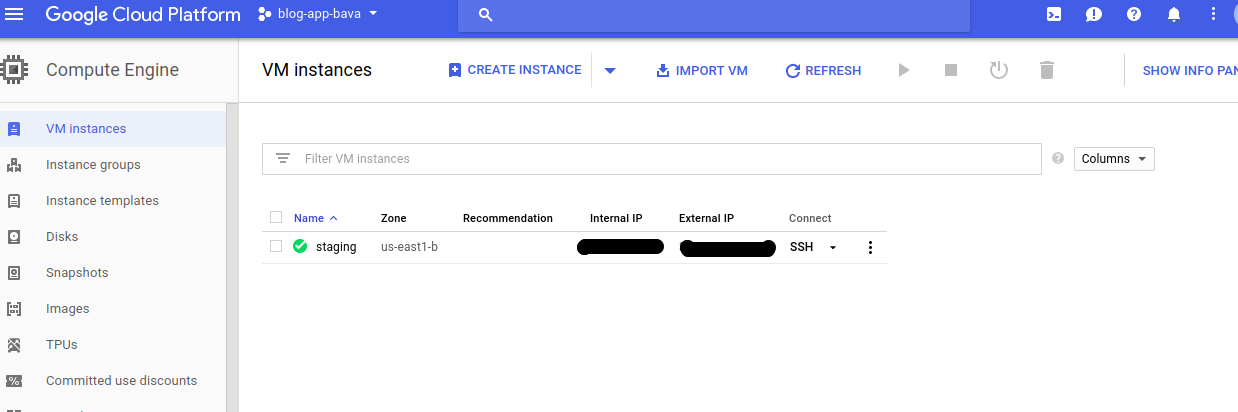
Create an instance
Now the process is create the instance. Instance is something like a virtual machine. This can be fetched from the Compute Engine. Example instances are production, staging etc.
Now, add some details to complete the instance creation.
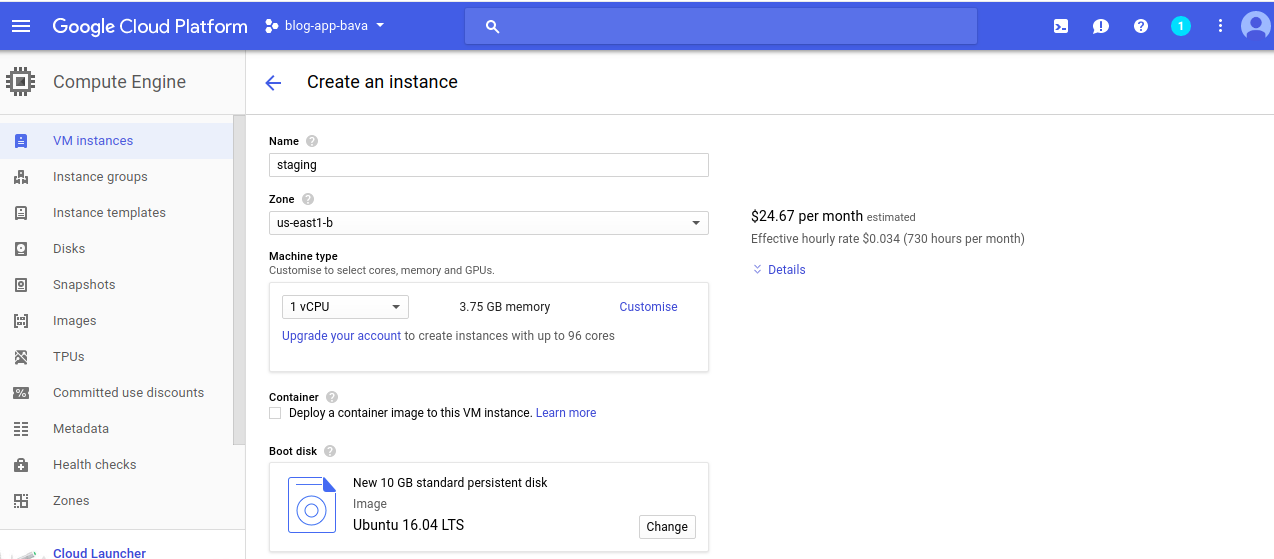
I have used is the ubuntu 16.04, you can choose your BootDisk.
Now, important part, need to link the SSH Key to the GCP.
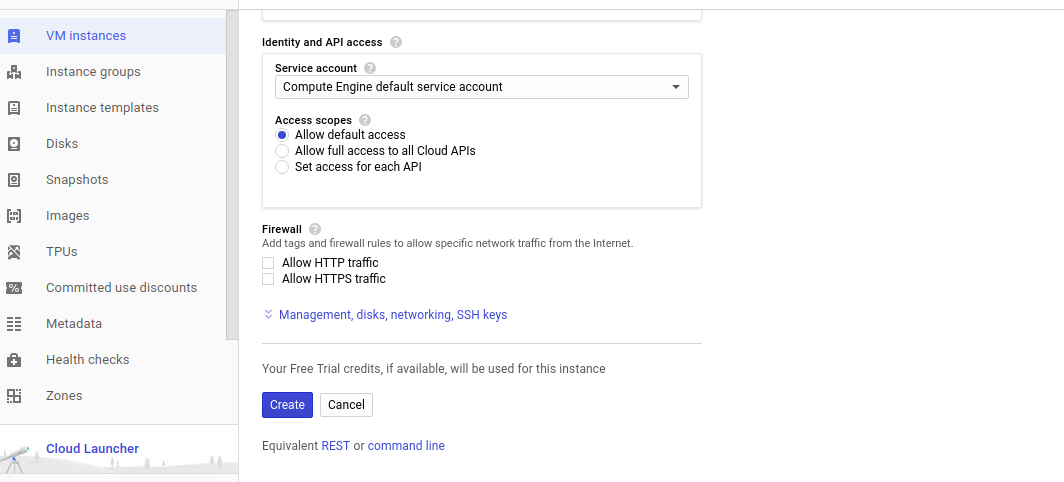
click on the create instance
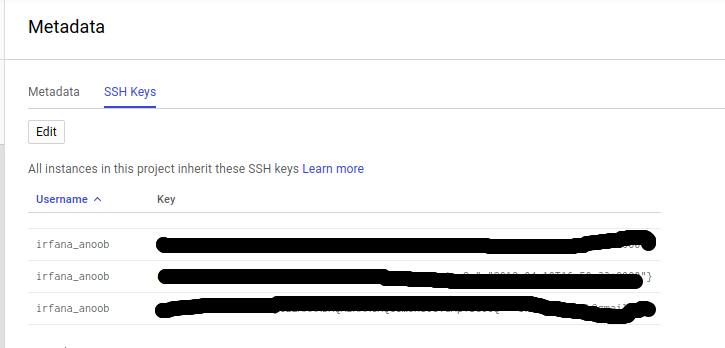
Link SSH to GCP
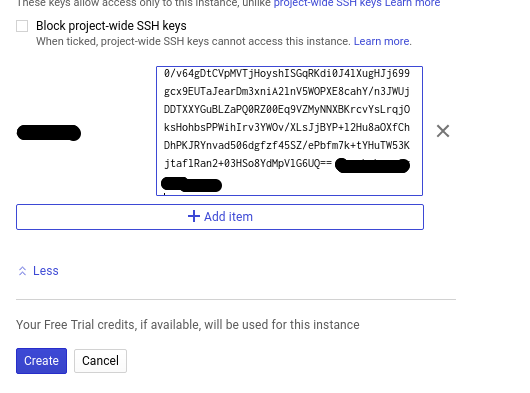
go to the metadata and click on the SSH keys and ADD,then paste the public key to there.
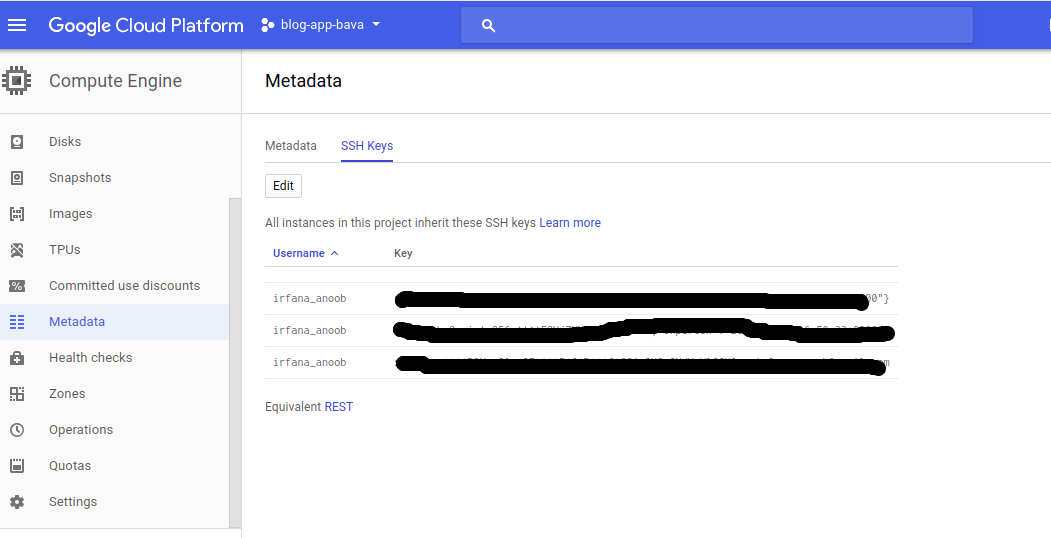
In order to do that, need to copy the public key
- Show the available SSH keys
1
| |
- copy the desired public key
1
| |

- Add the public Key to the GCP
Create a Pem File
because of security concerns and multiple connectivity of instances, We need to generate the pem file from the public key, this is achieved by using.
open a new terminal and run the below code.
1
| |

Now the code will generate the pem file in the place of terminal points to , in my case it is home path
Now change the permission of the pem file, by below comand
1
| |
connect the GCP using SSH
1
| |
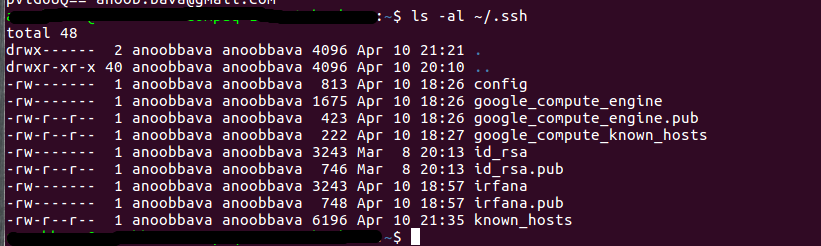
user_name is the name which is shown when we copy the ssh key, here irfana_anoob is the user_name
external-ip is the IP which is given when we create the instance
this is the Series1, will be posting more posts on this Also.
all set. thanks guys, comment if any error or doubt happend.