Why Travis CI
Before you start in to our CI, one must understand what is CI and why the CI is going to help us the development and what is a DevOps.
![]()
DevOps
- Is a combination of cultural philosophies.
- combined to do deviler the products at High Speed.
- development and operations teams are no longer “siloed.”(AWS)
- Technology is in path we can minimise the effort and reduce the bugs from the existing system.
- DevOps help us to achive better results in minimal Time.
- when Continous Integration and Continous Delivery makes us to reduce the development time.
CI(Continous Integration)
- Is a development practice.
- requires developers to share the code to a common repository.
- Each code update is tested by automated build.
- if only the automated build is succeeded, then the code is updated to the system.
- we have Travis CI, Circle CI for this task.
Travis CI intro
- Simple and powerful tool for the CI.
- Always free for the Open source repository.
- Test and deploy with Confidence.(motto)
- go to Travis
- facebook and Rails are using this.
workflow
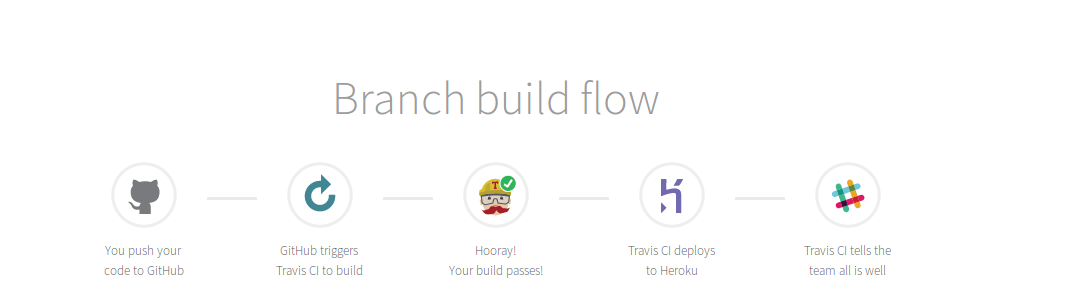
PR work flow

prerequisites
- Active Github Account.
- Need to link to Github repo with Travis CI.
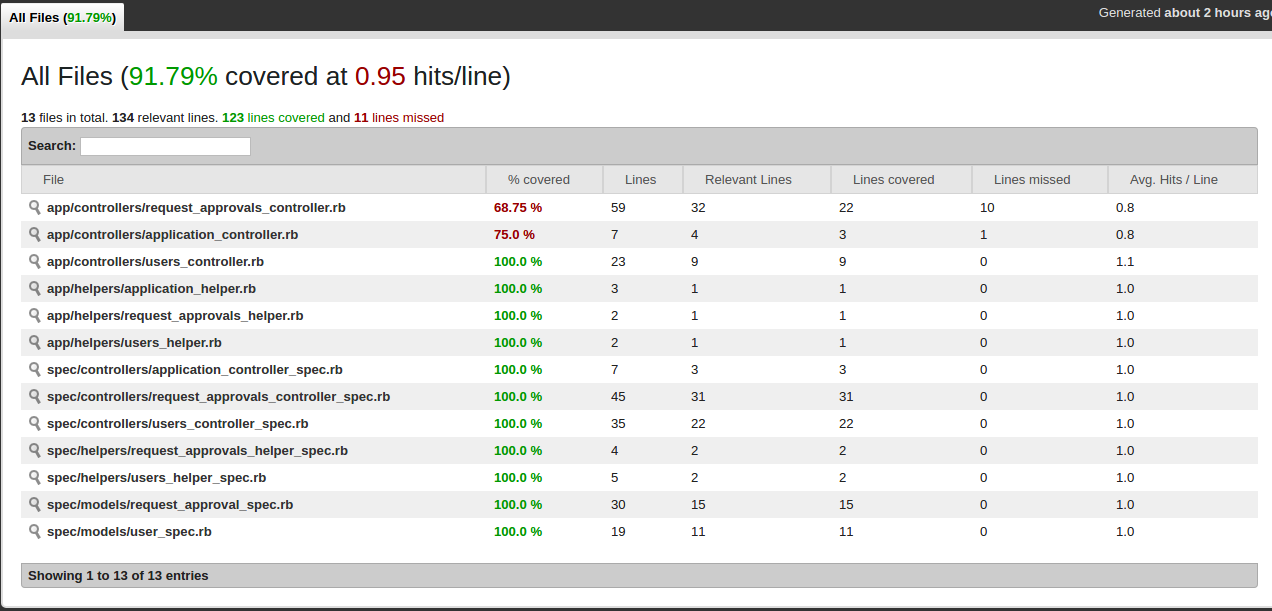
- test coverage for system.
Here we are testing for Ruby on rails.To test our project has test coverage we are using the simplecov gem.Testing using SimpleCov is explained in this link
Back in Action
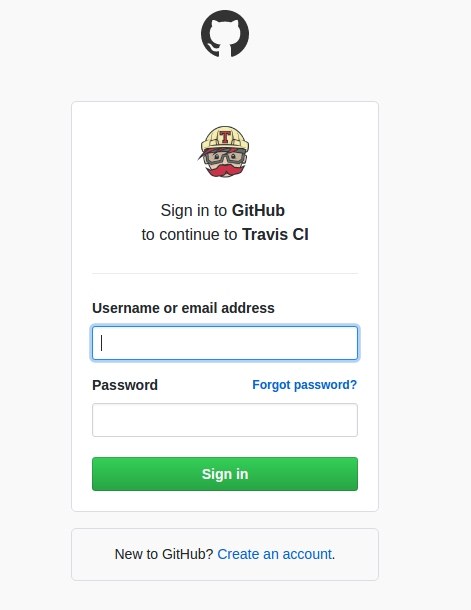
Next thing what we do is to Login with Github
All the gitHub Repo’s are synched to the Travis-CI.Now Turn ON the Switch against the Repos. We need to update a YML file for travis to automate the testing.There is an online tool to validate the Travis YML using this link.Right now we are discussing only the simple ones for start.
Sample YML
In order to function the Travis and install the depandancies, need a config file. travis.yml is that kind of file will help us to implement that feature. Below is sample file. There are other numerous configs, here is the basic to start and running.
Mentioned only the Ruby and the Version. Also before starting our testing, we need to setup a test database.The reason is we don’t want to test the production dB by any chance. Now comes the script part, we are migrating the database to the latest structure and running the rspecs.I have used the codeclimate.
Why Codeclimate
codeclimate is a code analysis engine will help to check the code has any issues using gems like breakman and rubocop.Also it has built in analysis engine will help us to analyse the code test coverage and also numerous features like badge for our GitHub account. signup using your Github and authorise access codeclimate to our repo. An advantage is that for opensource repo; the codeclimate is free for lifetime, Cool and Awesome right, thanks to codeclimate for their services.
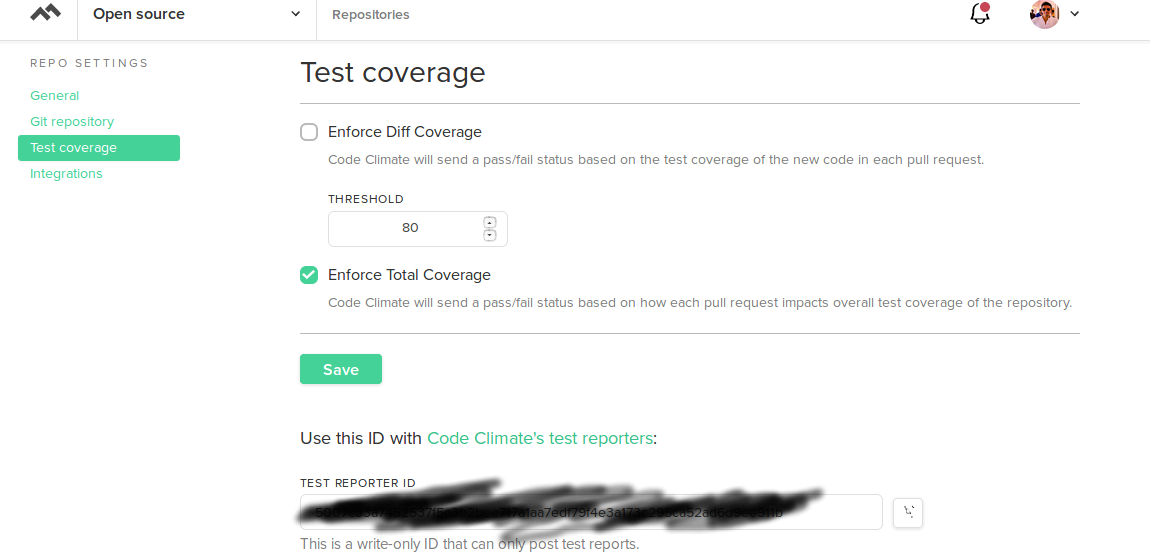
Login to codeclimate account and goto our repo, settings tab> Test Coverage. there is a token is present. This token is a link between Travis CI and codeclimate.
 Now see the magic, login to our travis account, goto our project> more options > settings > Environment Variables
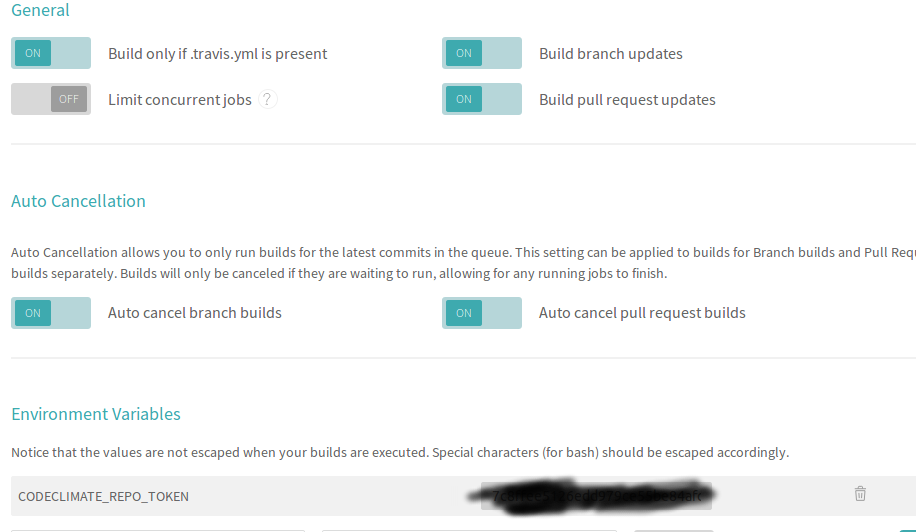
create a new environment variable CODECLIMATE_REPO_TOKEN and copy the value from the codeclimate account.
All Set, now only simple task is copy the same token to the .travis.yml file also where XX marked.
note : I am taking the images from my another project for clarity, do not need to confuse with that :D
Dont forget to add this gems our test group.
checkout the below the code if any doubts with the spec_helper.
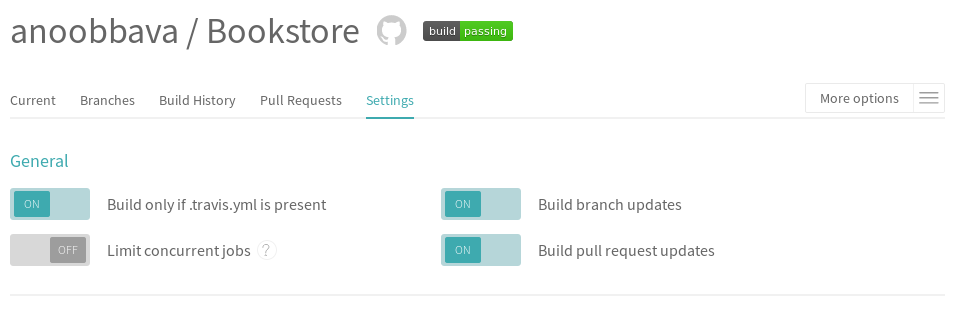
. Next is commit this code and push to master. We can config the travis to run only at the time of PR(Settings of Travis CI corresponding project). Need to check the settings of the travis-ci of particular repo, like when the build started or start build only when the yml is present like that.
Now it is check-in time.Add the code and made a PR
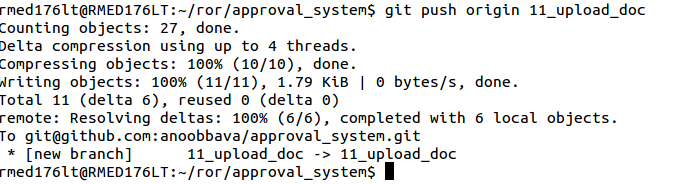
After made PR, the Travis-CI is analysing the code
we can see the status of PR by clicking on the see details from gitHub page.
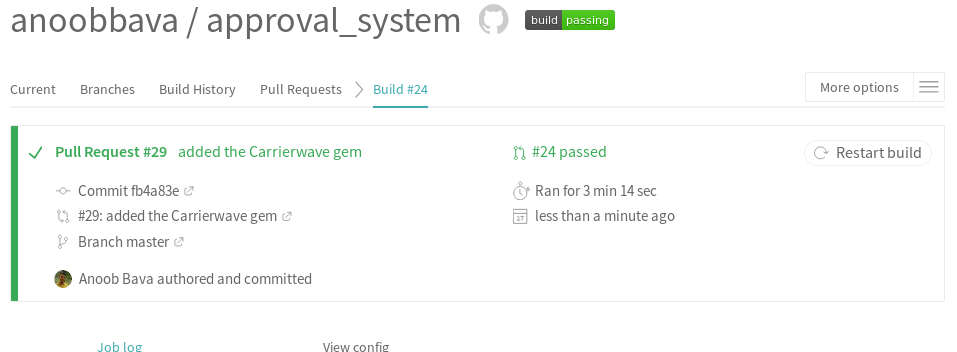
Hooray, all success, now we can see the detailed log for details.
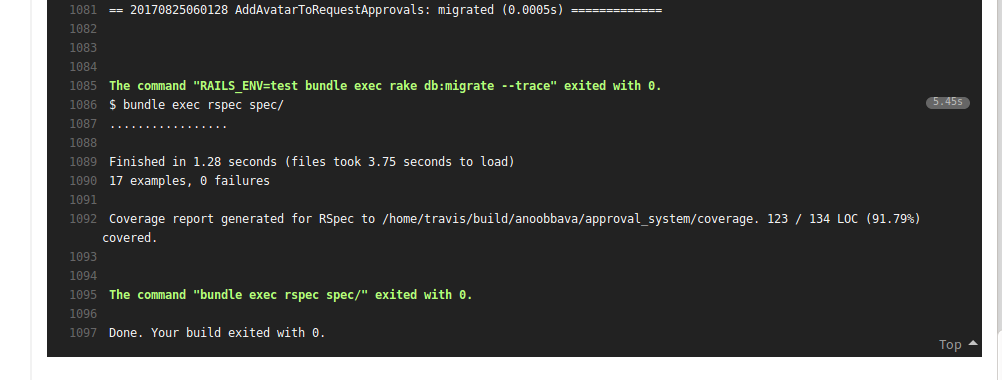
Image courtesy: travis