Why Blogging
Most of us are very much interested to write the blog to share what we think and to express our ideas to the world. But in reality, it won’t work. Sometimes Lazy attitude and lack of knowlegde about how to blog. Thanks to Ruby We have Awesome tool called Jekyll to blog.
What is a Jekyll.

Jeykyll is a static, simple blog aware site generator out of ruby. It is the one of the most trending repos of ruby in gthub.There are a lot of customisations in the jekyll; when we look it for the first time, we dont understand it very well.Same experiance for me too, but I don’t give up. I learned more about that and I came up with Octopress.
What is Octopress
First of all, Octopress is a blogging framework for hackers built on top of jekyll. It has awesome theme with nice understanding workflow for a newbee.
What we need
- Github account
- undertstanding about Ruby Programing language
- YML and kind of thigs
- Any IDE like Sublime Text
Setup Github
The reason I like GitHub it is super cool and provides free services. We can create public repos free and there is a place for static page too. In order to that need to create a repo name like this github-user-name.github.io. github-user-name is the username of your GitHub. Suppose your username is awesome.Repo name is awesome.github.io
Create new repository
for test purpose used a repo named user-name.github.io, here i have used awesome.github.io
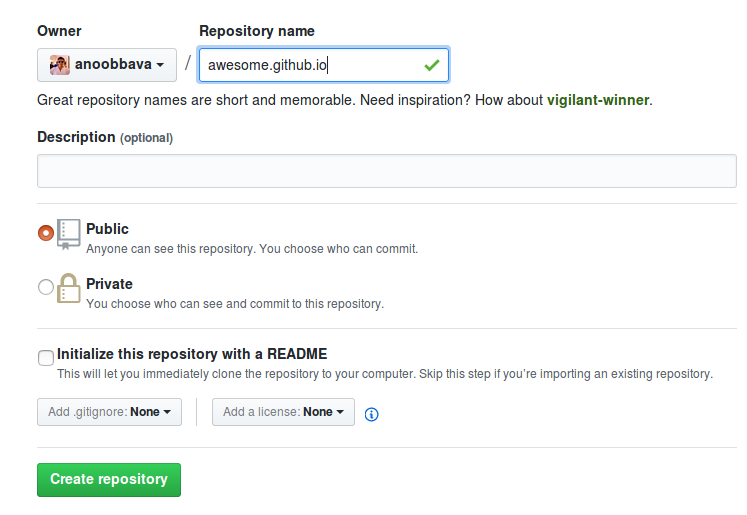
make sure it is a public repository and create repository. since already have a github.io in my account, I cant use that refer to this answer in stackoverflow. refer link for details.All done from th github account.
Setup the octopress.
before installing octopress, make sure we have the ruby, git installed in our system.
clone the octopress using below git url
1
| |
- Change to the directory awesome_blog

4.set the ruby version using rvm

5.install the bundler using below command
1
| |
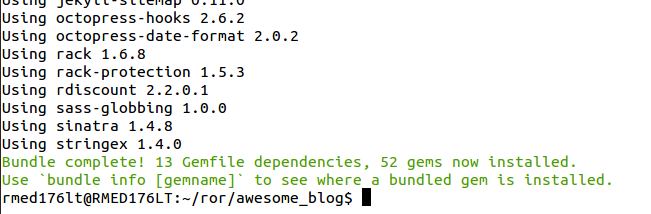
6.then bundle install
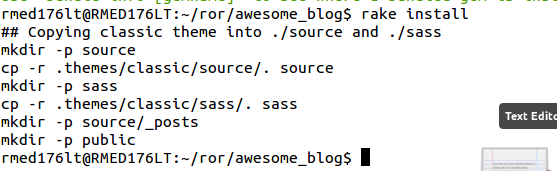
7.octopress is bundled with default theme, we can customise later, for now, we will use the default theme.
1
| |
linking GitHub account with Octopress
To do that we need to run this code.
1
| |
It is actually a rake task will ask the GitHub URL Repo. here we have
1
| |
Also it creates a new remote called octopress. A new branch source is created which contains the updations from our side where as the master contains the static page.

Now the process we need to generate a static page from this code, this can be achived using below command.
1
| |
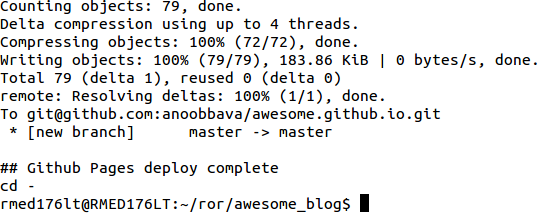
push this generated static site to the github using the command.
1
| |
Now the page is deployed, but the changes are still in the local machine we need to push to source branch. Which is achieved by
1 2 3 | |
Note to remember: The static page deployed in the master branch and the code that we changed need to be pushed to source branch.
when we done any changes, and need this change in the production, so the below commands to be executed after every changes occurs.
1 2 | |
7.png
I have an existing user-name.github.io with account, So i can’t create an another one. So I will be explain about the existing github.io account.
Write a Blog using Octopress
For that I have switched to my account, you guys can use the user-name.github.io account.
Create a new post using below command.
rake new_post["post_name"]
Before creating a blog post, We need to understand that this rake will generate a file in a markdown format and this markdown file will be end with YYYY-MM-DD-post-title.markdown and the path is in source/_posts.
Here I am creating a blog of how to create a blog using octopress and github.

The above rake will create a YAML based file which contains below details
1 2 3 4 5 6 7 | |
All the things are bit straight forward ,only doubt comes from comments: true and the categories. Comments will be discussed later, categories means which all categories this blog will comes, we can provide multiple ones, here I am using below ones only.
1
| |
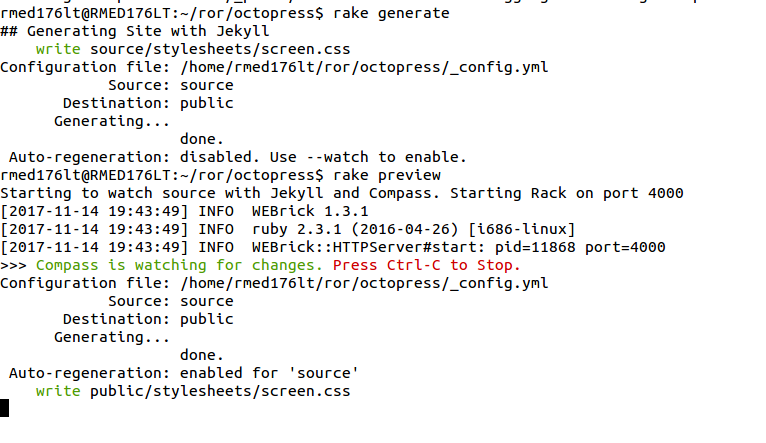
Now we need to test what is the result is going to come, achieved by using below commands,
1 2 | |
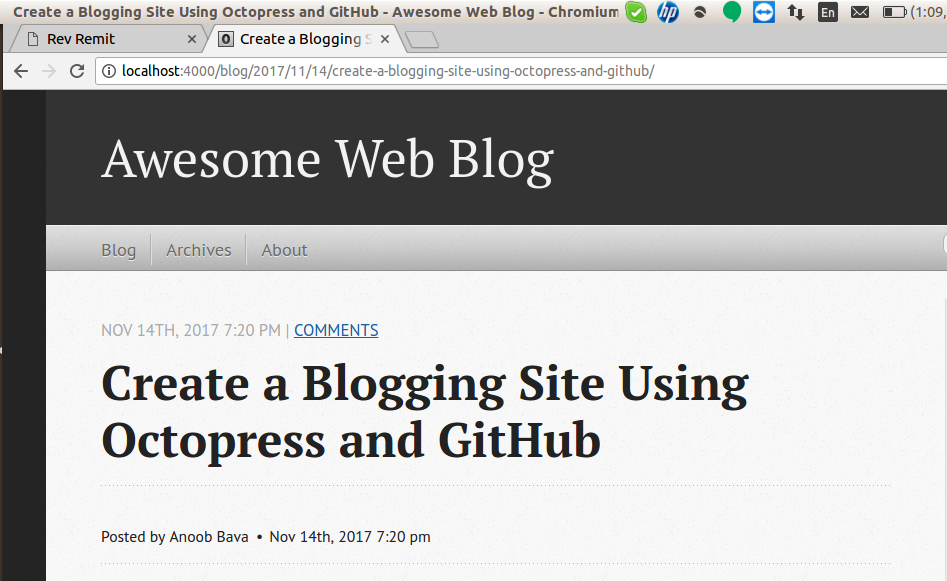
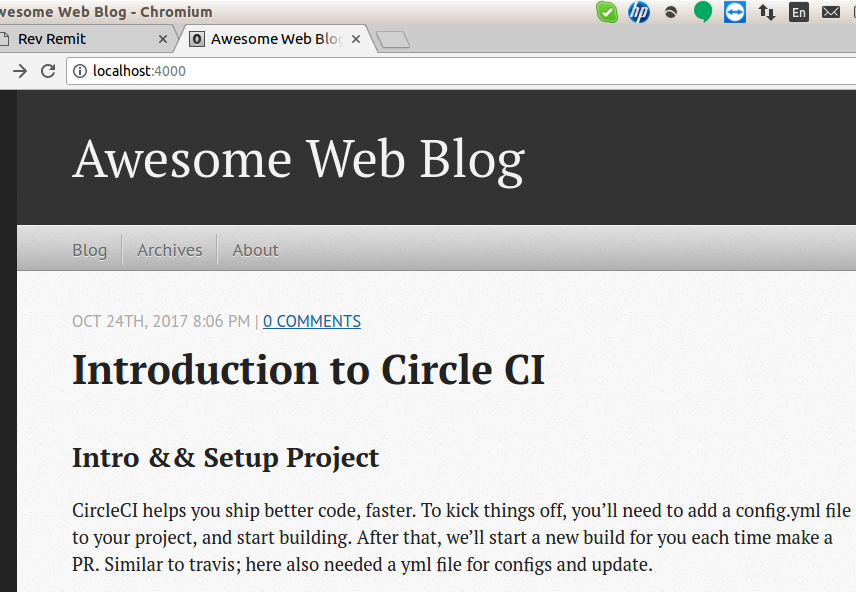
Browser result
If we don’t want the file to be published and we need to do some path works and design and something and you are in the middle of the blog, then set the
1
| |
to the blog post and it will not publish the page to the blogging site example:
1 2 3 4 5 6 7 | |
then refresh the browser, Hooray the new blog is disappeard.
Sharing code and highlights
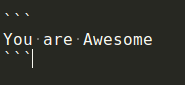
we can use using tilde “~” symbols for this option.The below option is achived using 3 tilde in one line, then in the next line data and in the next line 3 symbols
1
| |
Display images inside the blog
- Place the image in to the blog path/source/images/ 2.better to keep a folder for each blog posts inside the images/
1 2 | |
Since we cant use the correct syntax, because octopress executed as command, so Please remove the double quotes inside the braces before using the above syntax.
Gist inclusion
If we have more code examples, the preferred is the gist inclusion. Gist is a place where we can store the chunks of code for later use, like the commons rspec for a controllers or ActiveRecord queries etc. It is Free and from github. Go to the ink and create a gist and add to the blog. copy the embeded path starts with the “script src” and paste inside the blog like below
1
| |
All of configs are not covered here, Please refer the official octopress blog for details. Happy Blogging all of you, dont forget that once you completed, then do the below steps to complete
1 2 3 4 5 | |